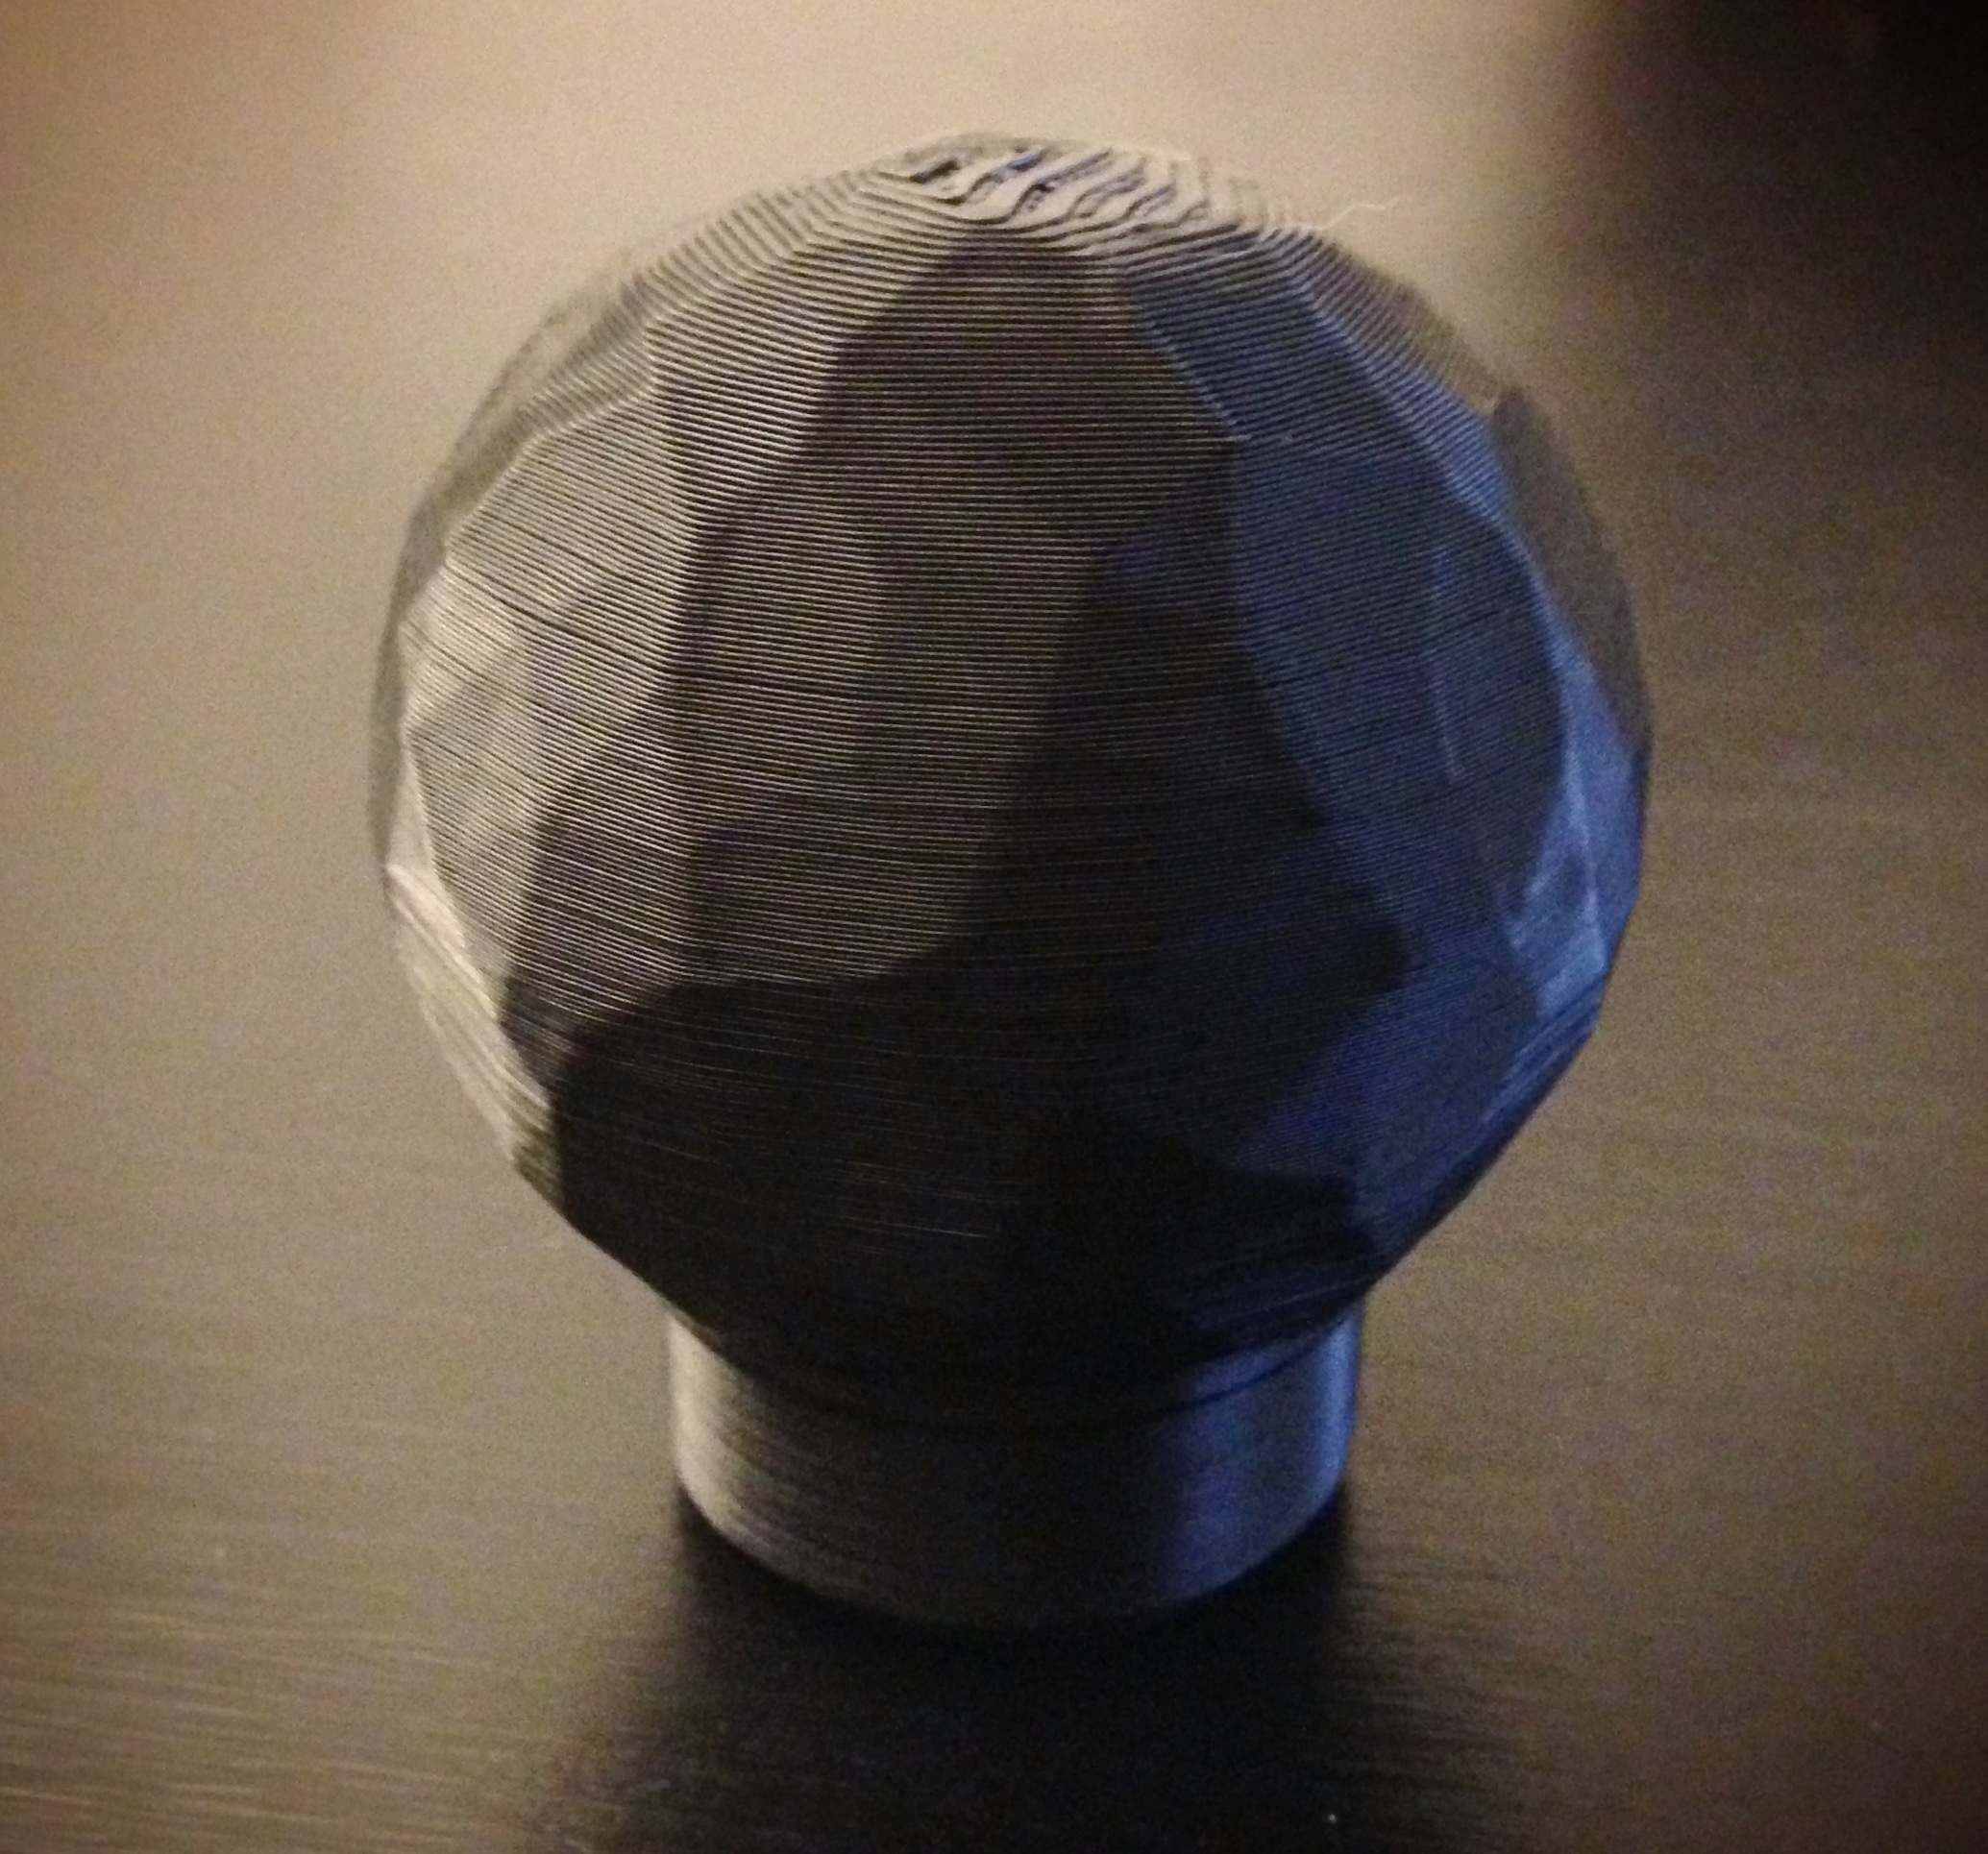
I recently learned that Blender has built-in SVG output capabilities using the Freestyle line rendering tool, which is awesome since I can now combine my love of 3D with my awesome AxiDraw plotter. In the course of playing with different models and the myriad options in the Blender Freestyle panel, I found some cool settings that create a very abstract, exaggerated style that looks great plotted. In the example above, I used the output from this technique to scratch the image into a scratchboard using a swiveling craft blade. It looks super cool both on-screen and on-board.
Here are the very simple steps to recreate this technique. Note I’m using Blender 2.78b with the built-in “Render: Freestyle SVG Exporter” add-on enabled.
Step 1
Start with a model. Here I’m using a scan of my head I’ve had laying around for a few years. This came from my Occipital Structure Sensor. Really, you can use any model for this, as each will result in interesting output.

Step 2
Enable “Freestyle” in Blender’s Render panel.

Expand the “Freestyle Line Set” in the Render Layers tab, then create a new line set by clicking the little “+” icon next to the empty.

If you render now, you’ll see an outline around your model, as well as a few internal lines.

Step 3
You’ll need to change the color of the stroke to be able to see it after the next step. So in the Freestyle Line Set you created, expand the “Freestyle Line Style” group, then select “Color” and set the color from black to something not black. Here, I’ve chosen a light-blue color.


Step 4
We really just want to render the lines, not the model itself, so expand the “Layer” group in the same panel, and turn OFF “Use Environment”, “Use AO”, “Use Surfaces”, and “Use Hair”. Render and you’ll see a black background with your colored lines. (I couldn’t find a way to get a non-black background, thus the changing the color. If there’s a way to get a white background or something, I’d love to hear it)


Step 5
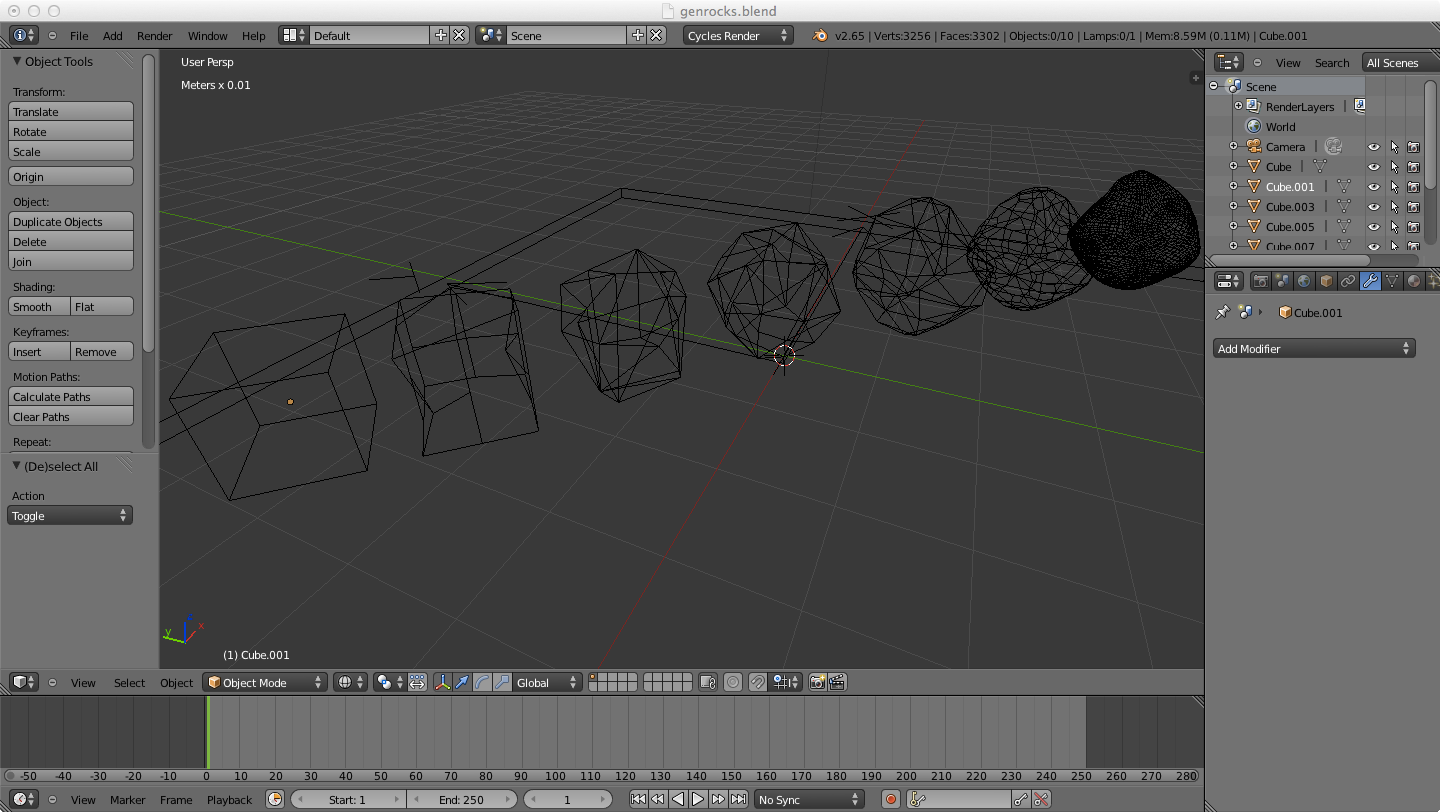
As it stands, the rendering may not look all that thrilling; it’s still cool, and there’s a lot you can do as-is, but it’s not what we’re going for. So let’s make the model a bit more interesting. We’re going to a “Remesh” modifer to our model, setting the Mode to “Blocks” and the Octree Depth to “8”.

The model now looks like millions of tiny cubes.

Rendering now already takes things up a notch.

Step 6
We now need to add a few modifiers to the lines. These are done in the Freestyle Line Style “Geometry” tab. We’re going to add “Guidelines” and “Backbone Stretch” via the Add Modifier dropdown.

And the render is taking shape!

Step 7
From here it’s a matter of tweaking some numbers, though the exact values are up to your aesthetic preferences. I picked “20” for Guidelines, and “50” for Backbone Stretch.


Step 8
This looks good, but a little heavy to me. So let’s change the line thickness to be thinner. In the Freestyle Line Style “Thickness” tab, set the Base Thickness to “1”.

Much better!

Step 9
The last thing to do is save the SVG. This is as easy as checking a checkbox, but also a little more convoluted than it needs to be, as you’ll see.
First, the checkbox to check is in the Render panel way at the bottom. Again, you’ll need to enable the Freestyle SVG Export add-on to see this.

Easy! Now, however, you’ll want the exported SVG file to go somewhere you can actually get to it! By default the exporter uses Blender’s temporary file path, which is normally a temp folder deep in the bowels of your computer. Let’s change that to something more accessible.
Scrolling up in the Render panel, find the “Output” section, and note that there is a folder in the textfield, something like “/tmp”. Click the little folder icon to the right and select a folder you’d like to save your SVG to.

That’s it! Next time you render your image, you’ll have a SVG file in the path you specified. Note that it takes the name of the frame you are working on, so most likely “0001.svg” if you are working on a single frame.

Important Final Step
From here I take the SVG into Inkscape, ungroup all of the lines until they are individual lines. With all the lines still selected (they should be selected after ungrouping), choose the “Simplify” menu option from the “Path” menu.
While all the lines look like single lines between two end points, they are made up of many, MANY individual points along the line. Doing the Simplify pass will reduce those down to two points and make your plotting go much smoother.
There is a way to do a simplification pass inside Blender, but I found that it merges lines in a way that I don’t care for.
From here
You can, of course, use any model you want, and play with values as you desire. There are quite a few Freestyle Line Style geometry modifiers including adding noise to the lines, warping with Perlin noise, or turning the lines into Bezier curves. Play around and have fun!