
One of the things we love about living in the Pacific Northwest is the abundance of rocks and stones unlike any we have seen elsewhere. I know it sounds strange, but the variation of color, texture, pattern, and shape always provides inspiration and enjoyment. We have collected a fair number from beaches, fields, streams, rivers, and our own land as we dig holes for plantings.
Our front living room is being decorated in a “natural history library” style, with our bookcases, our antique prints of bats, frogs, sea creatures, and of course a collection of rocks placed nicely in an old printer’s letterpress tray and hanging on the wall.
 Looking at the rocks recently, I thought that it would be interesting to create my own stones using a generative approach to their design — morphing from rock shape to perfect cube shape — that I could 3D print and put with the real rocks. Having recently done a fair number of designs utilizing Blender’s various deformation tools, I knew this was not going to be a difficult project to model.
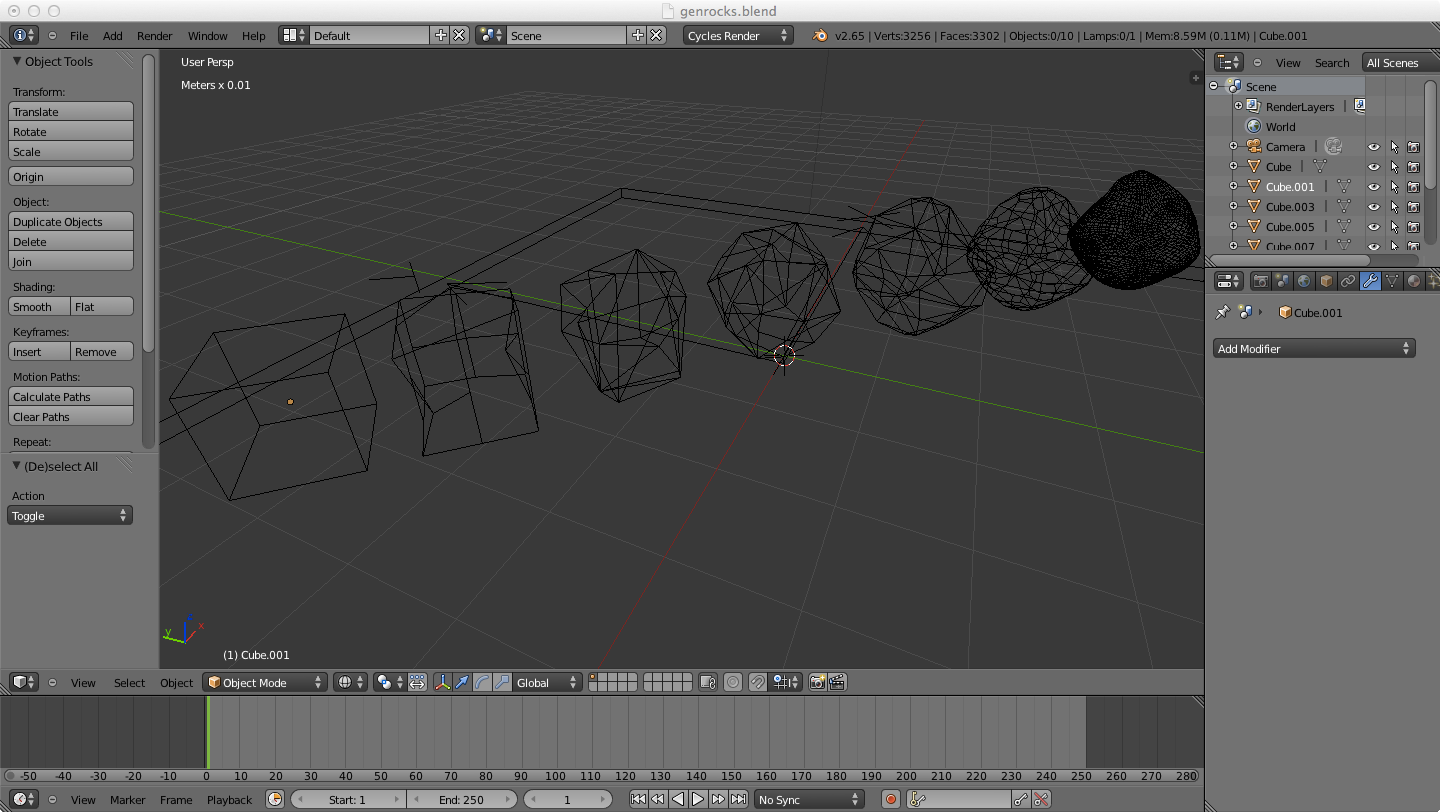
Seven generations in Blender
I started with a cube. This was the shape I wanted to resolve to, but it would be easier to work in reverse. I wanted to keep these small, like gems or crystals one might find in a fast-flowing stream, so I made my cube 10mm on all sides. I duplicated this cube and pushed a pulled a few vertices here or there. I duplicated this new form, subdivided it, and again pushed and pulled some random vertices. The lineage was apparent but it was starting to take on an interesting shape.
 I repeated the process, and then started to get into some subdivision surfacing and decimation tool work, letting them smooth and roughen the shape as they wanted. After my 13th version, I stopped; I had resolved into a nice natural shape, reminiscent of any small rock in our collection.
I decided to delete every other generation as the larger jumps made the transition more apparent without being too different from the previous generation. This left me with seven generations of shapes.
As a lot of the rocks we find are slightly transparent, I decided to print these in natural PLA. Depending upon the speed and temperature it is printed at, it can emulate this texture quite nicely, or it can be surprisingly clear and more crystal-like. I also decided to print these with no infill — meaning they would be hollow — but with five extra “shells”. This gave them very thick walls, a hollow interior, and kept the PLA refracting light in even horizontal bands.


The estimation of print time after slicing in ReplicatorG was 36 minutes, so I got right to it. From starting cube to final 3D print and cleanup took approximately two hours.
After seeing my rocks next to the real ones, I decided to scale them up by 1.5x so that they were a little more in-line with the real rock sizes, making the root cube 15mm on each side. I also decided to 3D print them with only four shells instead of five, and at 223°C instead of 220°C, to make them a little more glass-like and transparent. Though the larger size took over twice as long to print, I think the new size is much better.
In the end I like how they came out, and my wife likes the way the PLA came out. I decided to arrange them from cube to stone instead of how I originally thought, as it felt better — it was they way they were created after all. I’ll either leave them in-line on one row of the letterpress tray, or intermingle them into the real rocks. Time will tell.
-

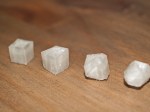
- Comparison of original size (bottom row) and 1.5x larger (top row)
-

- The small version in the letterpress tray
-

- One of the later generations in shimmering PLA
-

- Close up detail just because


Pingback: Is it jewelry if there are no jewels? | my plastic future