
OMG, OMG, OMG. The next generation of at-home fabrication and desktop innovation is finally here — the arrival of my Formlabs Form 1 3D printer.
The Formlabs Form 1 is a desktop 3D printer capable of printing objects with a level of detail many times greater than any other at-home 3D printer you can buy. For reference, my Makerbot typically runs at 0.2mm per layer — that’s five layers per millimeter. The Form 1 on “medium” resolution runs at 0.05mm per layer — that 20 layers per millimeter. The highest resolution is 0.025mm per layer! By using a laser to cure liquid resin one layer at a time, instead of melting plastic and extruding it, the precision is increased, the smell goes away, and there is almost zero noise.
The technology used in the Form 1 is typically only used by machines costing into the six figure range, which were mostly owned by specialized companies that would print items for you, or large corporations that used them for commercial product prototyping. Now, 3D model makers, jewelers, artists, and anyone who made use of these services can put a high-end machine on their desk for a few thousand dollars — which is many cases is what would be spent on outside services for just a few 3D prints.
My history with Formlabs and the Form 1 goes further back than their launch on Kickstarter. When I was at frog, I had an opportunity to talk to several of the founders about how a design firm like ours would use a desktop 3D printer. We talked about size, types of resin (I wanted clear), fumes, safety, maintenance, and of course price. While I had hoped that they would make a printer we could buy as a company, I didn’t think they’d make a printer I could buy for myself!
 The printer itself is slightly larger than my Makerbot Thing-o-Matic, but looks way more stylish in its brushed aluminum and UV-deflecting orange acrylic. It really feels like a futuristic device, again it’s amazingly quiet, and it really looks awesome as the laser is firing. Even the finishing station that came with it is well designed and super functional.
I’m struck that the looks of the Form 1, and the way it functions, is so very different from the wooden frame and noisy motors of my Makerbot that I have a different mindset about what I want to print with it. The Makerbot feels very tool-like, which I’ve said many times before, but the Form 1 feels different, like all it should be printing is art pieces, not sliding door parts, or razor holders.
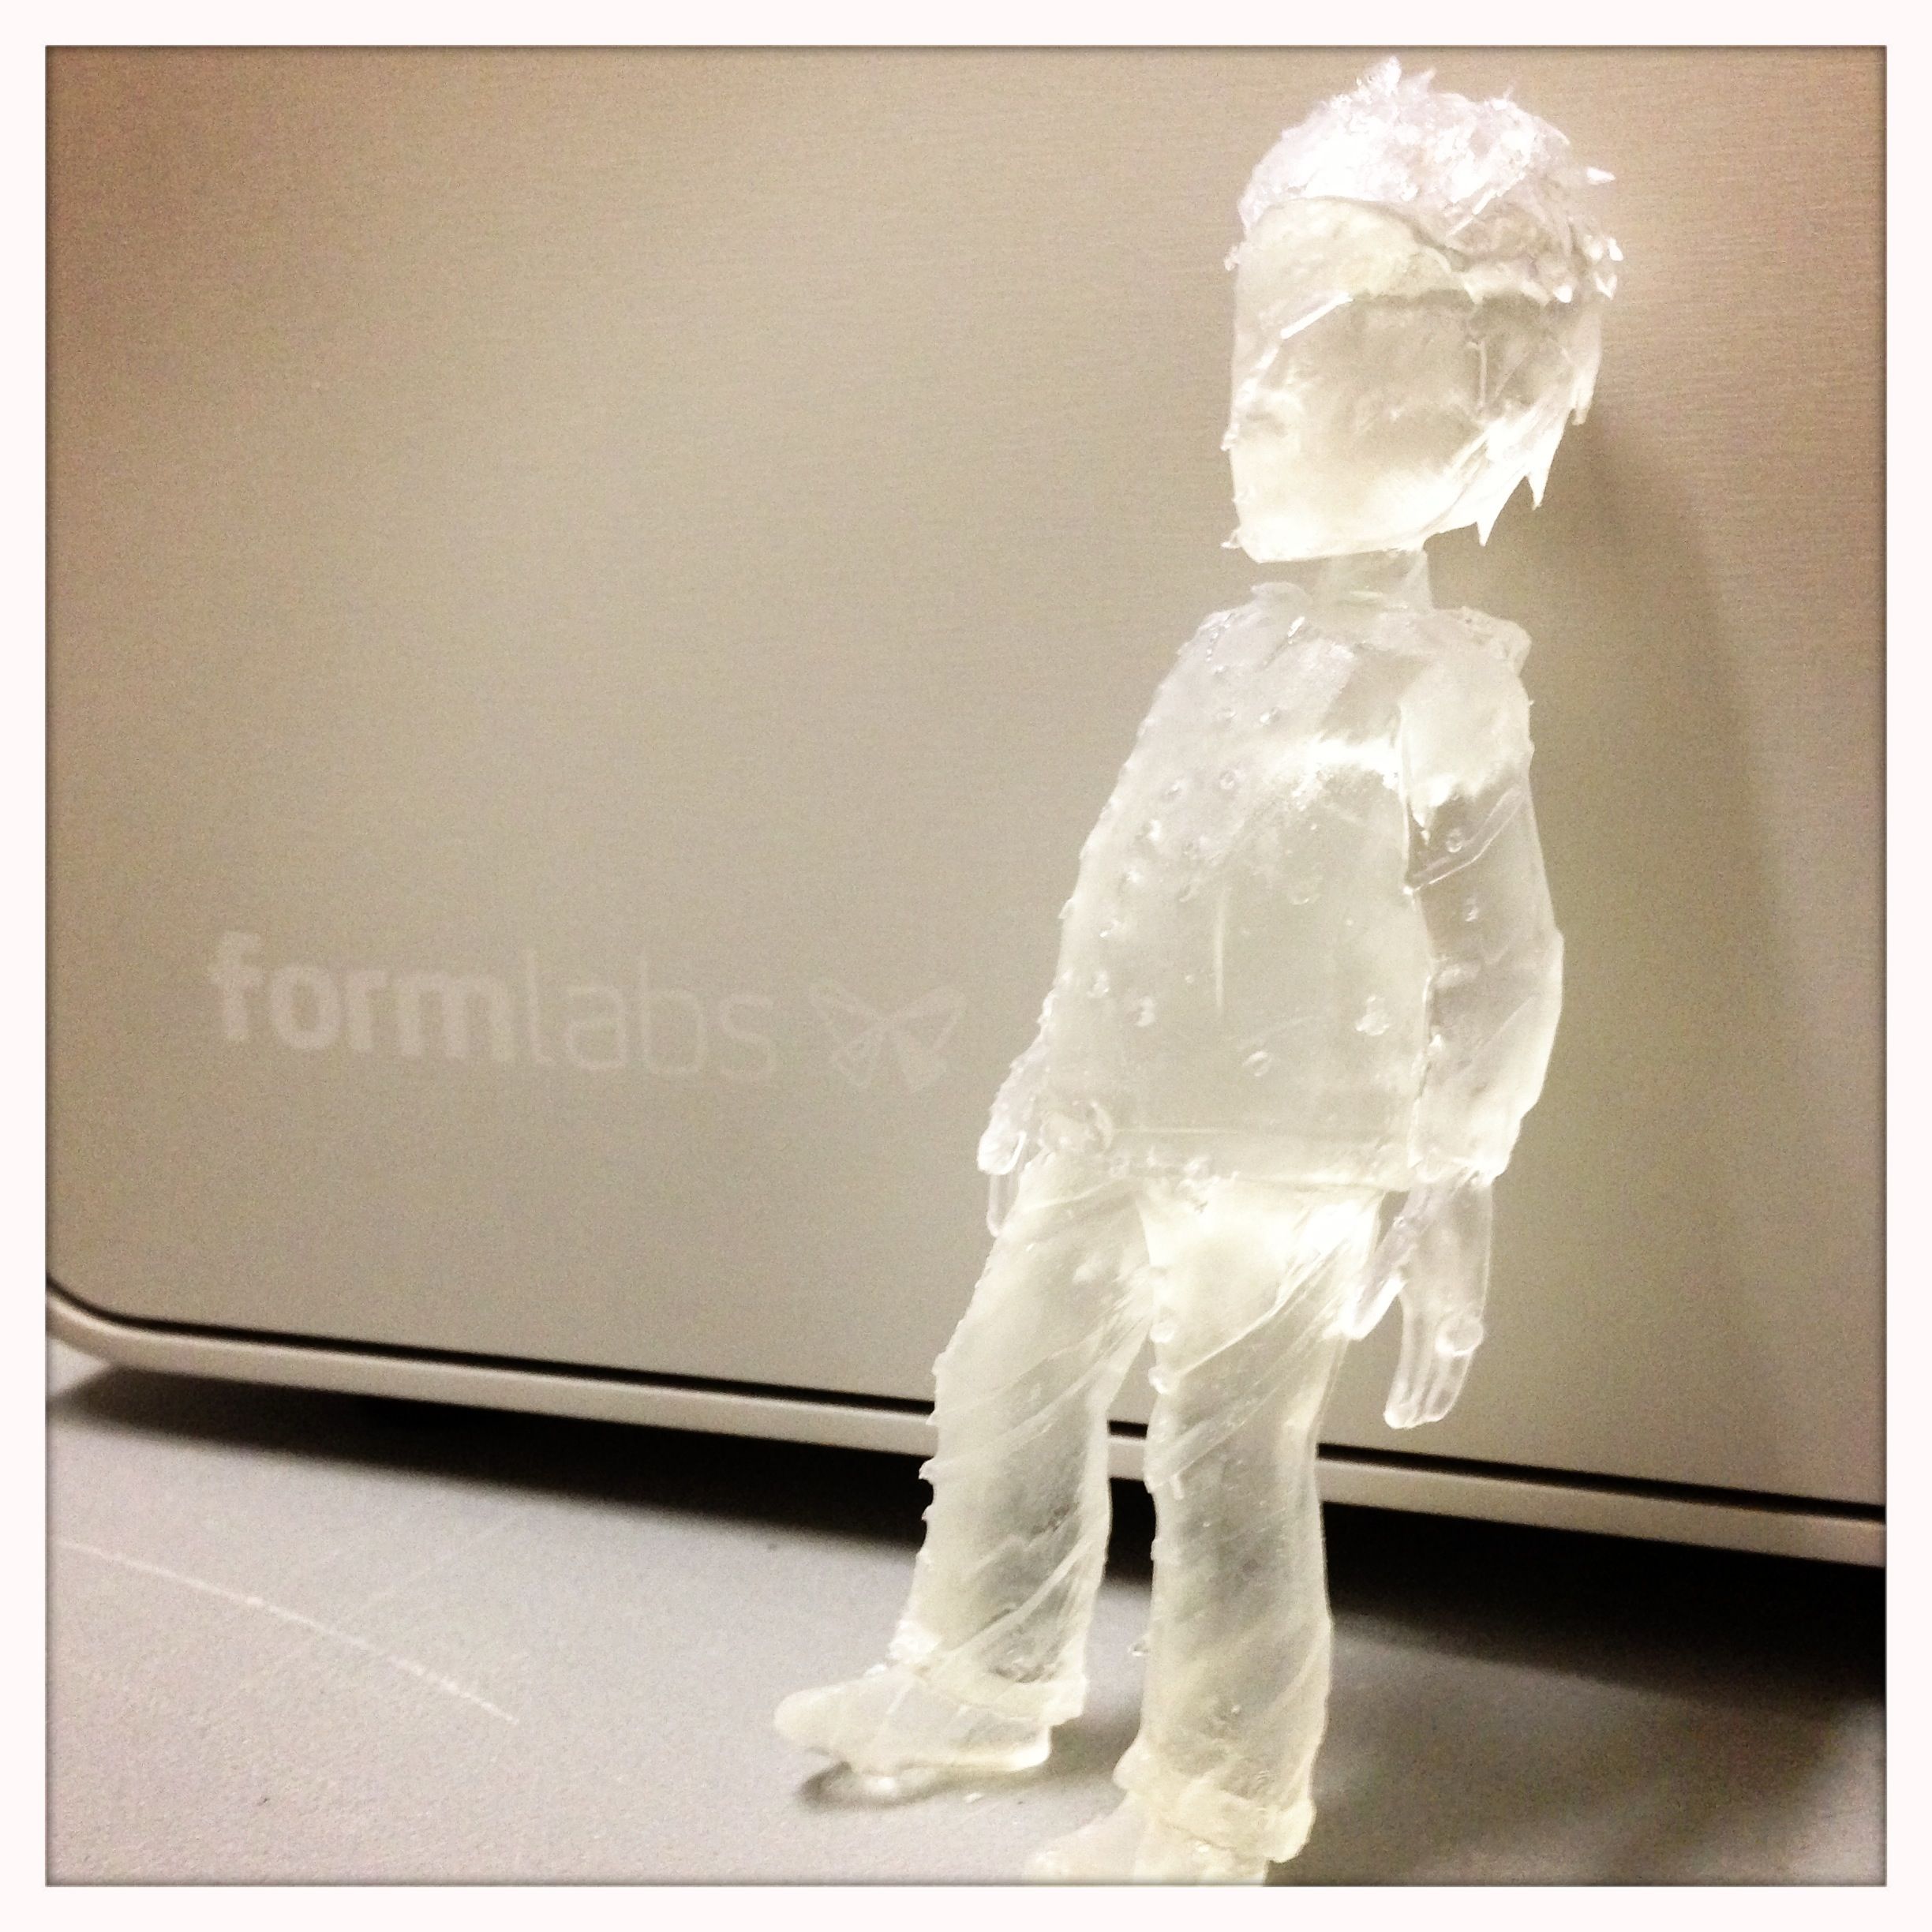
During the process of development they changed from a gray resin to a clear one which made me really excited. I wanted to 3D print pieces with LEDs behind it, so clear was perfect; for other things I could paint it if I wanted. The clear resin also adds to the artistic-only mentality, as the gray definitely looked more like plastic; the clear is much more jewel/candy-like.
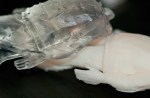
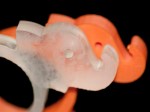
I debated what my first 3D print with it should be, but I finally settled on my Xbox 360 avatar. When I printed it with my Makerbot I said it represented my digital self made physical, and now that was going to be pushed into a whole other level. I loaded the object, positioned it in the software, and pressed “Form” (their version of “Print”). It uploaded to the printer and told me it was going to take five and a half hours. Gulp! It was 8:30pm. I had no choice — it was going and I wasn’t going to stop it now.
 The next morning I woke up and ran out to the garage, like an excited child on Christmas morning. I was both amazed and sad. While it printed beautifully, and wall all clear and shiny and glistening from the resin, there were a lot of offset lines in the print. I surmised that the cats jumped up on the table and caused some sloshing of the resin or something, but later discovered it was a problem in the 3D model I used. While the same model had printed okay on my Makerbot, the software for the Form 1 was both much more precise, and much more picky about having a perfect model. I suppose that for a machine that is all about precision, this is the mindset I have to be in from now on, and that’s not a bad thing.
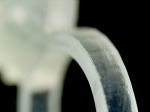
 Despite the flaws, the resolution was amazing — you can see the wedding ring on my finger. This details wasn’t even noticeable on the Makerbot printed version, and I had forgotten that it was even part of the model! The detail on my face was amazing as well, even being able to see nostril indentations. The brain area ended up being hollow, which was again a problem with my 3D model. This led to my first failed section of print.
Apparently part of the head model had a microscopic hole, so the left over resin inside the brain area leaked out over the course of the day, leaving the area around the hole not as sharp as the rest of the print.
 Over the next few days, as the print was being played with by folks, it got dropped and the head broke off at the neck. No problem, I can 3D print another one. Since the time I printed my avatar and the time I’m writing this a week later, a new version of the software has come out that helps with models such as my avatar, and fills in the inside areas, so the next time I print it, the model will be totally solid. Awesome!
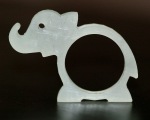
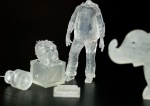
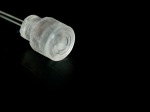
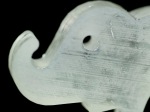
Over the next few days I tried different objects — some that I had printed before, like my Elephant Zookins, and some that I made just as specific tests, like a tiny fresnel lens cover for a 5mm LED. Both came out great.
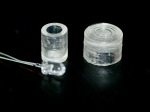
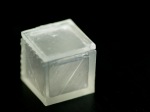
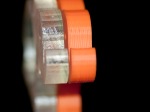
I also wanted to see just how precise the machine was, and how true the objects were after printing, so I designed a small 20mm box with a removable lid. I attached the lid to the box by a “living hinge” — basically a thin bridge between the box and the lid with a hole in it to allow it to bend. I made the bridge 0.2mm thick, meaning it would get several layers of resin, and we’d see just how fine I could make things.
The process of cleaning a finished print is to place it into a tub of rubbing alcohol, slosh it around a bit, then let it sit. This removes the excess, uncured, resin and leaves the piece nice and clean. Well, my bridge was a little too thin, and I left it a little too long in the alcohol, and the hinge totally disintegrated. Bummer.
 However, I was left with a really cool little box. Measuring the overall size and the thickness of the walls of the box, the results were really good. While designed to be 20mm on each side, the 3D print ended up at 20.24mm per side, consistent across all axis. The walls were to be 2mm thick, and printed at 2.12mm thick. While these are not ideal for some folks, for my purposes this is excellent.
All is not great, however. I’ve had a few prints that have failed — some short hour-long prints, some that were many-hour prints. I have yet to figure out exactly what is causing the problems, though I’m sure it is in my 3D models, not the machine. The downside of this is that, unlike plastic filament which can cost $30 – $40 for a large roll, the resin for the Form 1 costs $150 a liter. To waste both precious resin and 10-12 hours waiting for a print is costly. As time progresses, I’m sure resin prices will go down and tools will become available to help folks create 3D models that are just going to work.
In the end I’m really excited by both the Form 1 as a 3D printer, and what it means for desktop innovation. We have a machine that can silently create precise, ultra-detailed 3D prints, sitting on a desk in our homes, allowing a whole new level of design iteration, at a fraction of the cost of traditional resin/laser 3D printers.


Pingback: The first page of the second chapter | 3D Print...