 Or, finials finally finished.
The Pacific Northwest has proven to be amazing, and as we felt it was worth putting down roots here, we purchased a house! Of course, with any house comes the “to do” list. This time, though, I have my trusty 3D printer to help out.
Immediately there were two things that needed my attention, one mechanical, one ornamental. First was a sliding door guide — nothing terribly interesting, but easy to recreate, 3D print, and have it work like nothing was ever wrong. You can view and download this guide piece on Thingiverse.
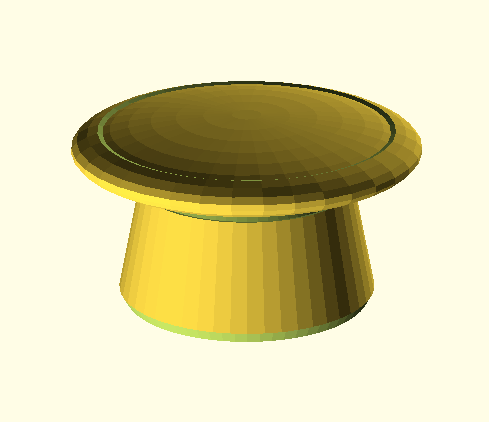
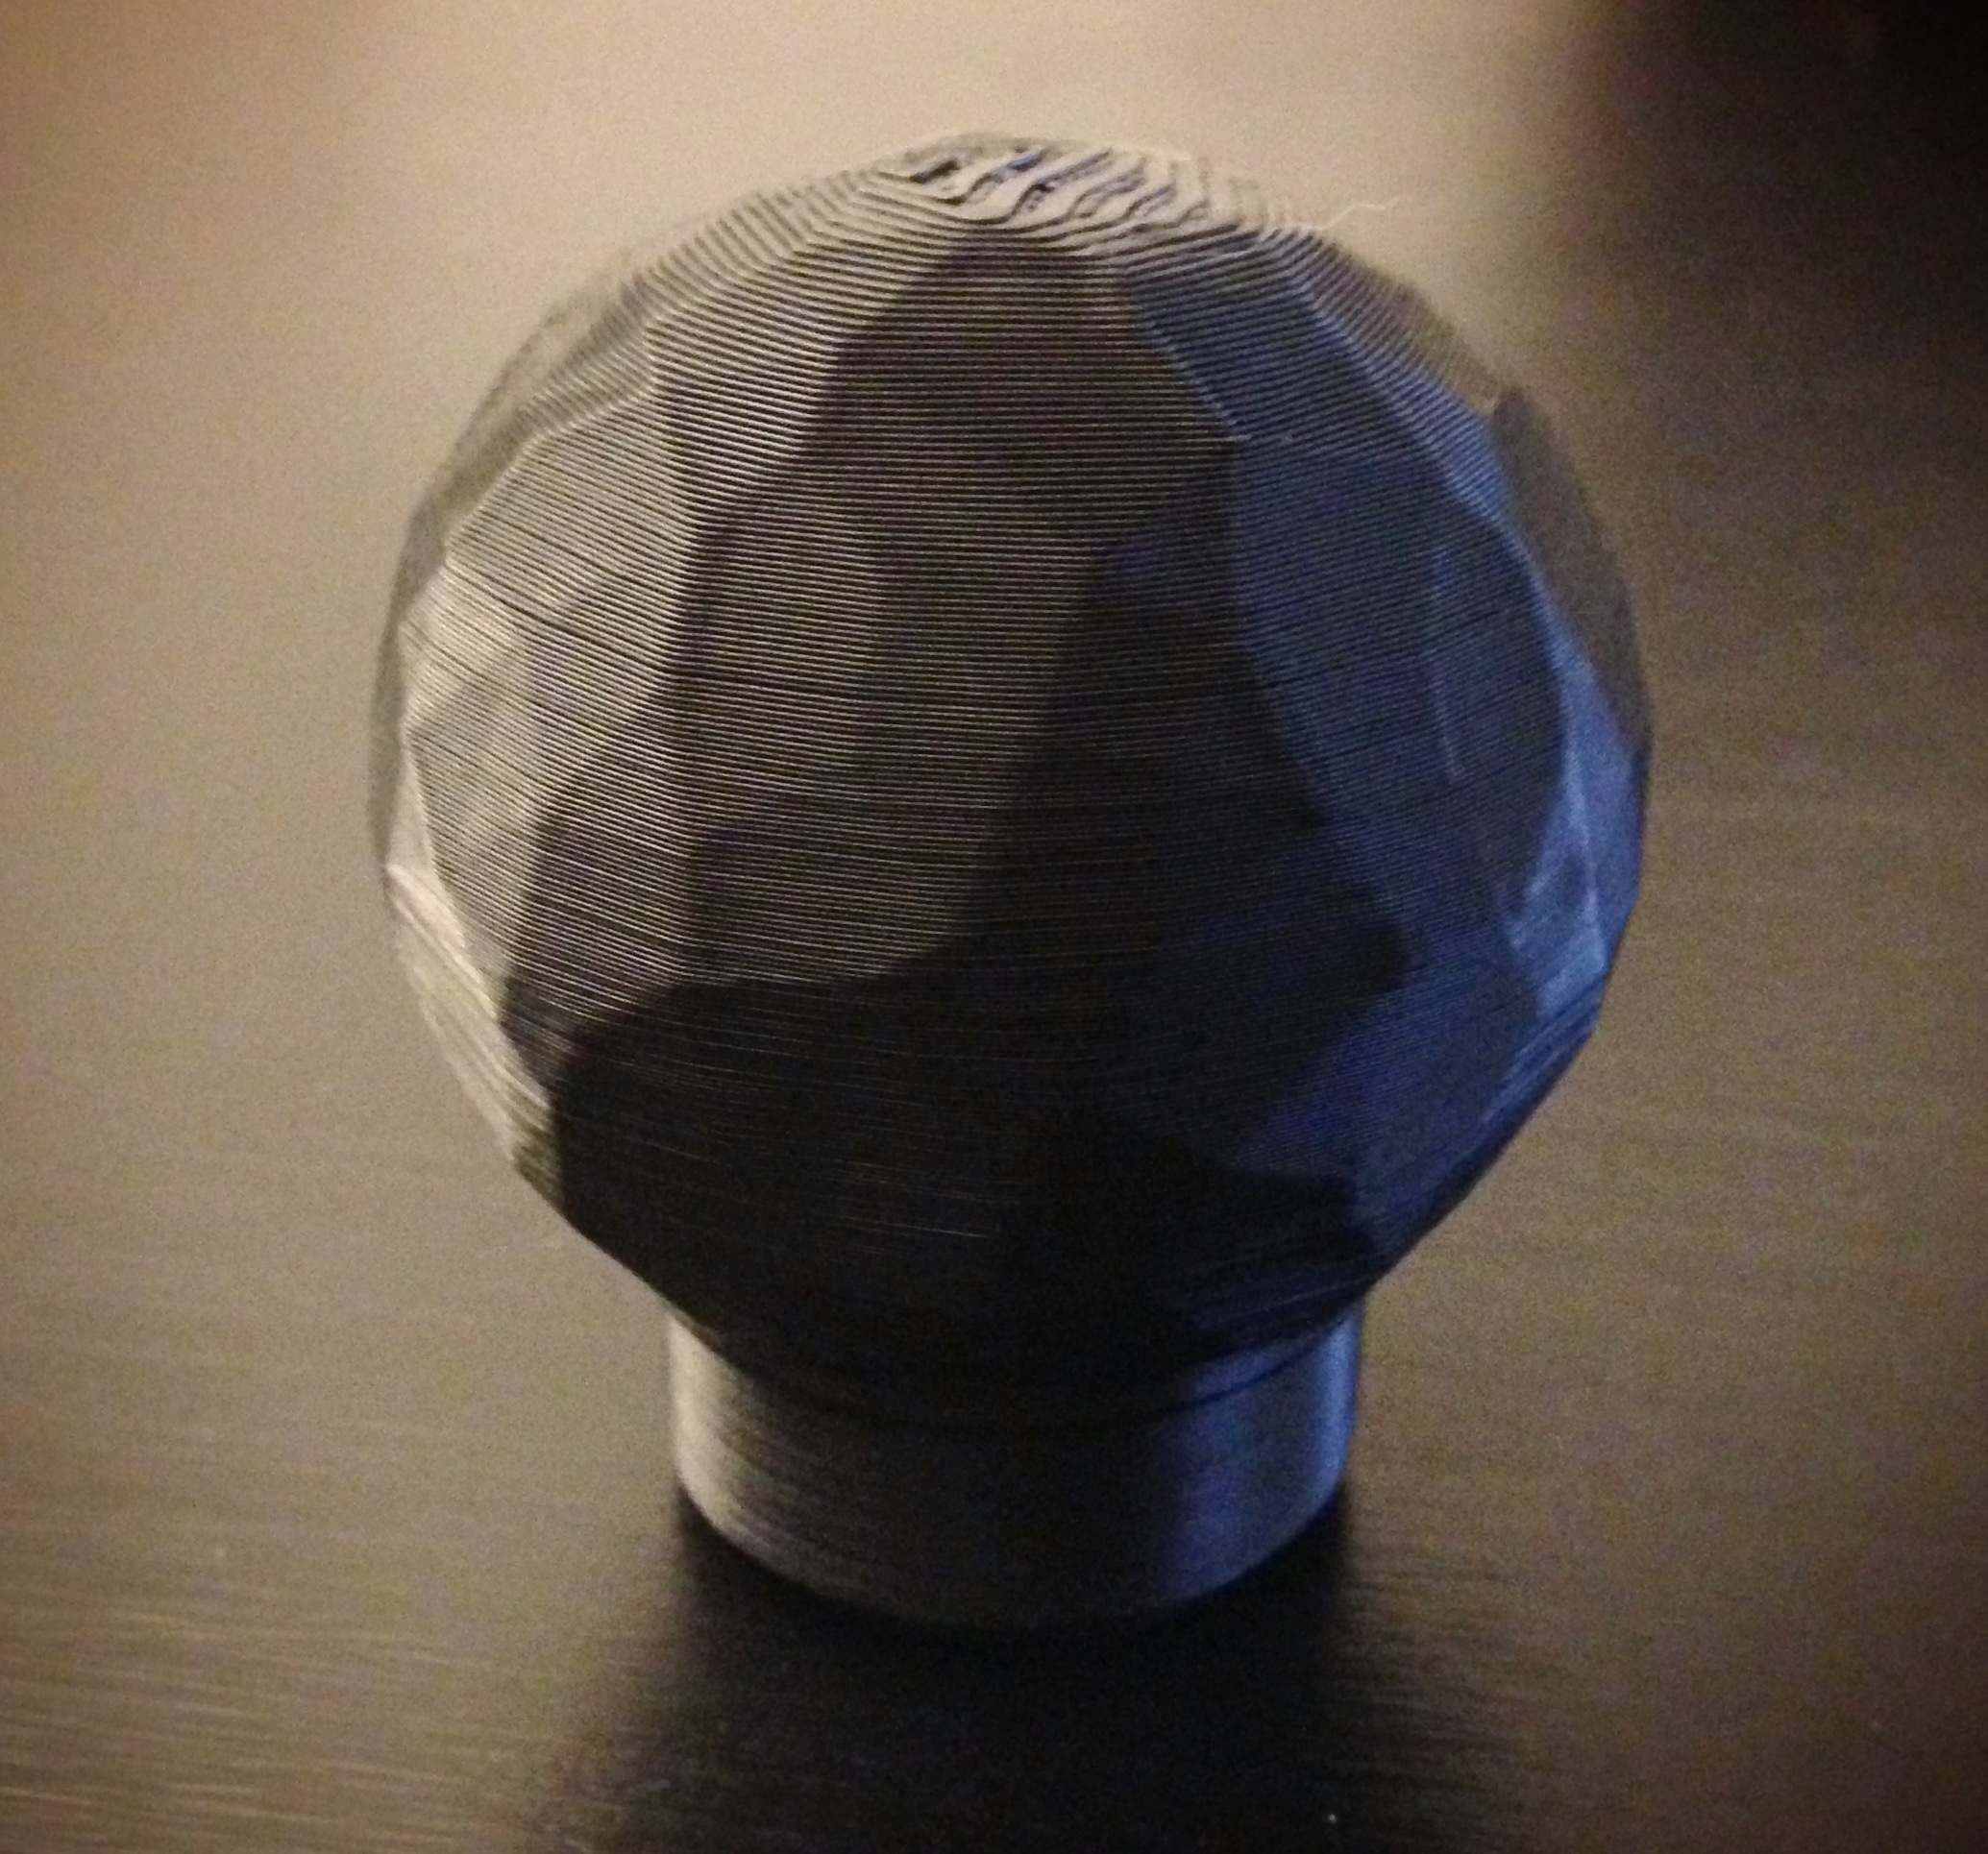
Second, the ornamental, were some finials—you know those things at the end of the curtain rods—for the dining room curtains. The ones there were not ugly, just not our style. My wife looked around online and found some that she liked, but they were rather pricey. She said they were on Restoration Hardware’s site, so I went snooping. I found a few that were nice, but I saw some “hand forged” ones that were in the $50 range for two, and looked like something I could recreate and 3D print. So for fun I modeled one, 3D printed it, and showed it to my wife who replied “great – we need three more”. So I got busy.
This post will focus on how to create the “hand hammered” style using various tools, and my choice for finishing it the way I did; a bit of design process, and a bit of crafty craft.
 Just a quick post about a fun, exciting, really cool new thing that Makerbot added to Thingiverse: