Tiny glass robots [update with 0.025mm pics]

Tiny glass robotOk, not glass. But it certainly looks like it! This is a quick robot pendent I modeled in Blender today and 3D printed on my Form 1. It took just a little over an hour to print at 0.05mm per layer. I’ll let the pictures speak for themselves (hint: it’s awesome!)

UPDATE: I re-printed the robot at 0.025mm layer height and added pics. See second gallery below.

Robot pendent at 0.025mm layer height:

Steps to Stones, or, Generating Nature

One of the things we love about living in the Pacific Northwest is the abundance of rocks and stones unlike any we have seen elsewhere. I know it sounds strange, but the variation of color, texture, pattern, and shape always provides inspiration and enjoyment. We have collected a fair number from beaches, fields, streams, rivers, and our own land as we dig holes for plantings.

Our front living room is being decorated in a “natural history library” style, with our bookcases, our antique prints of bats, frogs, sea creatures, and of course a collection of rocks placed nicely in an old printer’s letterpress tray and hanging on the wall.

Seven generationsLooking at the rocks recently, I thought that it would be interesting to create my own stones using a generative approach to their design — morphing from rock shape to perfect cube shape — that I could 3D print and put with the real rocks. Having recently done a fair number of designs utilizing Blender’s various deformation tools, I knew this was not going to be a difficult project to model.

Rocks in blender

Seven generations in Blender

Continue reading

What I’ve Been 3D Printing – Winter into Spring 2013 Edition

The six-hour winter

Winter came. And six hours later it was gone. Whew!

Winter has not stopped me from 3D printing quite a few new things. What I haven’t had time for, thanks to the craziness of day job, is finishing any of my big projects, or writing up stories around my smaller pieces. So, I’ve decided to just post some pictures and quick blurbs on what I have been able to accomplish, to serve as a snapshot in time and maybe some inspiration to someone looking for new things to try.

Continue reading

Decimated Decor Decorum

Finial UnfinishedOr, finials finally finished.

The Pacific Northwest has proven to be amazing, and as we felt it was worth putting down roots here, we purchased a house! Of course, with any house comes the “to do” list. This time, though, I have my trusty 3D printer to help out.

Immediately there were two things that needed my attention, one mechanical, one ornamental. First was a sliding door guide — nothing terribly interesting, but easy to recreate, 3D print, and have it work like nothing was ever wrong. You can view and download this guide piece on Thingiverse.

Second, the ornamental, were some finials—you know those things at the end of the curtain rods—for the dining room curtains. The ones there were not ugly, just not our style. My wife looked around online and found some that she liked, but they were rather pricey. She said they were on Restoration Hardware’s site, so I went snooping. I found a few that were nice, but I saw some “hand forged” ones that were in the $50 range for two, and looked like something I could recreate and 3D print. So for fun I modeled one, 3D printed it, and showed it to my wife who replied “great – we need three more”. So I got busy.

This post will focus on how to create the “hand hammered” style using various tools, and my choice for finishing it the way I did; a bit of design process, and a bit of crafty craft.

Continue reading

Designs as equations

Design as equationsJust a quick post about a fun, exciting, really cool new thing that Makerbot added to Thingiverse: Customizer.

Customizer is a user-friendly web interface into a world of 3D objects created via programming language and not visually like how “normal” 3D modelling works. You see, software exists that let you code objects with high precision, using functions with easily understood names like cube() and sphere(), but also combining these objects in useful ways, like adding, subtracting, etc. These functions allow a developer to write scripts that create objects that can be modified and shaped by simply changing variables – this is sometimes called parameterized design.

One such application is called OpenSCAD and, as the name implies, is open-source software and is free! What’s cool about Customizer is that you can write scripts in OpenSCAD, upload the script to Thingiverse, and automagically have sliders, input fields, and other user-friendly UI items alongside a real-time, interactive preview — giving users the easy ability to use your script to make objects.

Door Knob and Drawer Pull MakerI decided to take a crack at making a script to create a most mundane object, but one that is easily parameterized: door knobs and drawer pulls.

While nothing game-changing, it is a good example of how many common things can be reduced to code, and a new way of thinking about allowing end-users to customize objects for their needs and tastes.

You can run my script in Customizer, as well as download the script to look at the code and run locally, here: Door Knob and Drawer Pull Maker.

UFO_reverse UFO_none_curved UFO_bump

Connecting the world… with napkin rings

One might recall that a couple of weeks back I designed, 3D printed, and posted some napkin rings in the shape of animals; “zookins” I called them, in a clever mash-up of words. I posted four and had plans for several more, when I could find the time.

Much to my delight, while I was working on other things, Thingiverse user shutay in Kuala Lumpur, Malaysia took the idea and ran, posting several new derivatives.

shutay's "snail zookin"First was his awesome snail zookin (good photography too). In his description he says “The first 4 Zookins went down so well with the family, that I thought the collection could do with a snail.” That’s awesome, and the snail design is great! I’m glad to hear that people are enjoying them, and that they are sparking ideas. That’s my goal. 🙂

carkin - beetle-likeThen he followed up with this cute car, which he called a “carkin”. Perfect. He says he plans on making more carkins, and I hope he does. I hope other people do to!

fall / halloween napkin rings
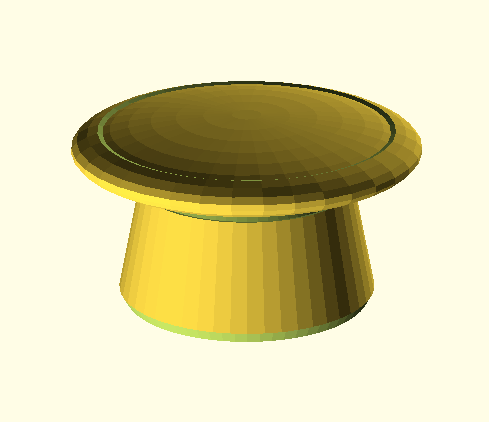
Today I posted three more napkin rings, made for the season: a pumpkin, an owl, and a cauldron; a mix of fall and Halloween. I was trying to work out a bat, but I’m still having issues with the correct wing proportions — the napkin ring would take up the entire place setting! D’oh!

I really hope that folks keep going with these; they are such simple things, but sometimes simple can be incredibly powerful.

You can find shutay’s pieces on his Thingiverse page, and the new fall napkin rings also on Thingiverse.
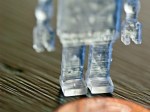
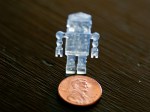
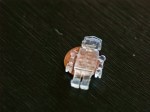
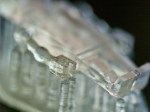
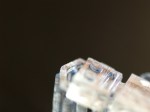
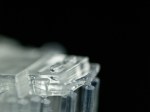
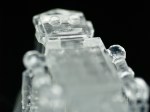
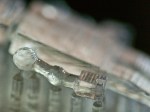
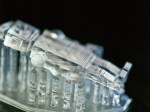
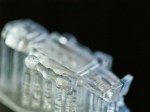
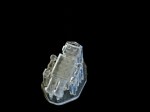
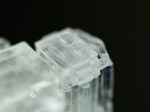
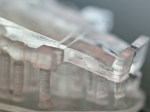
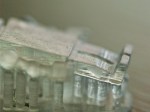
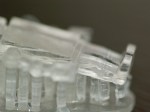
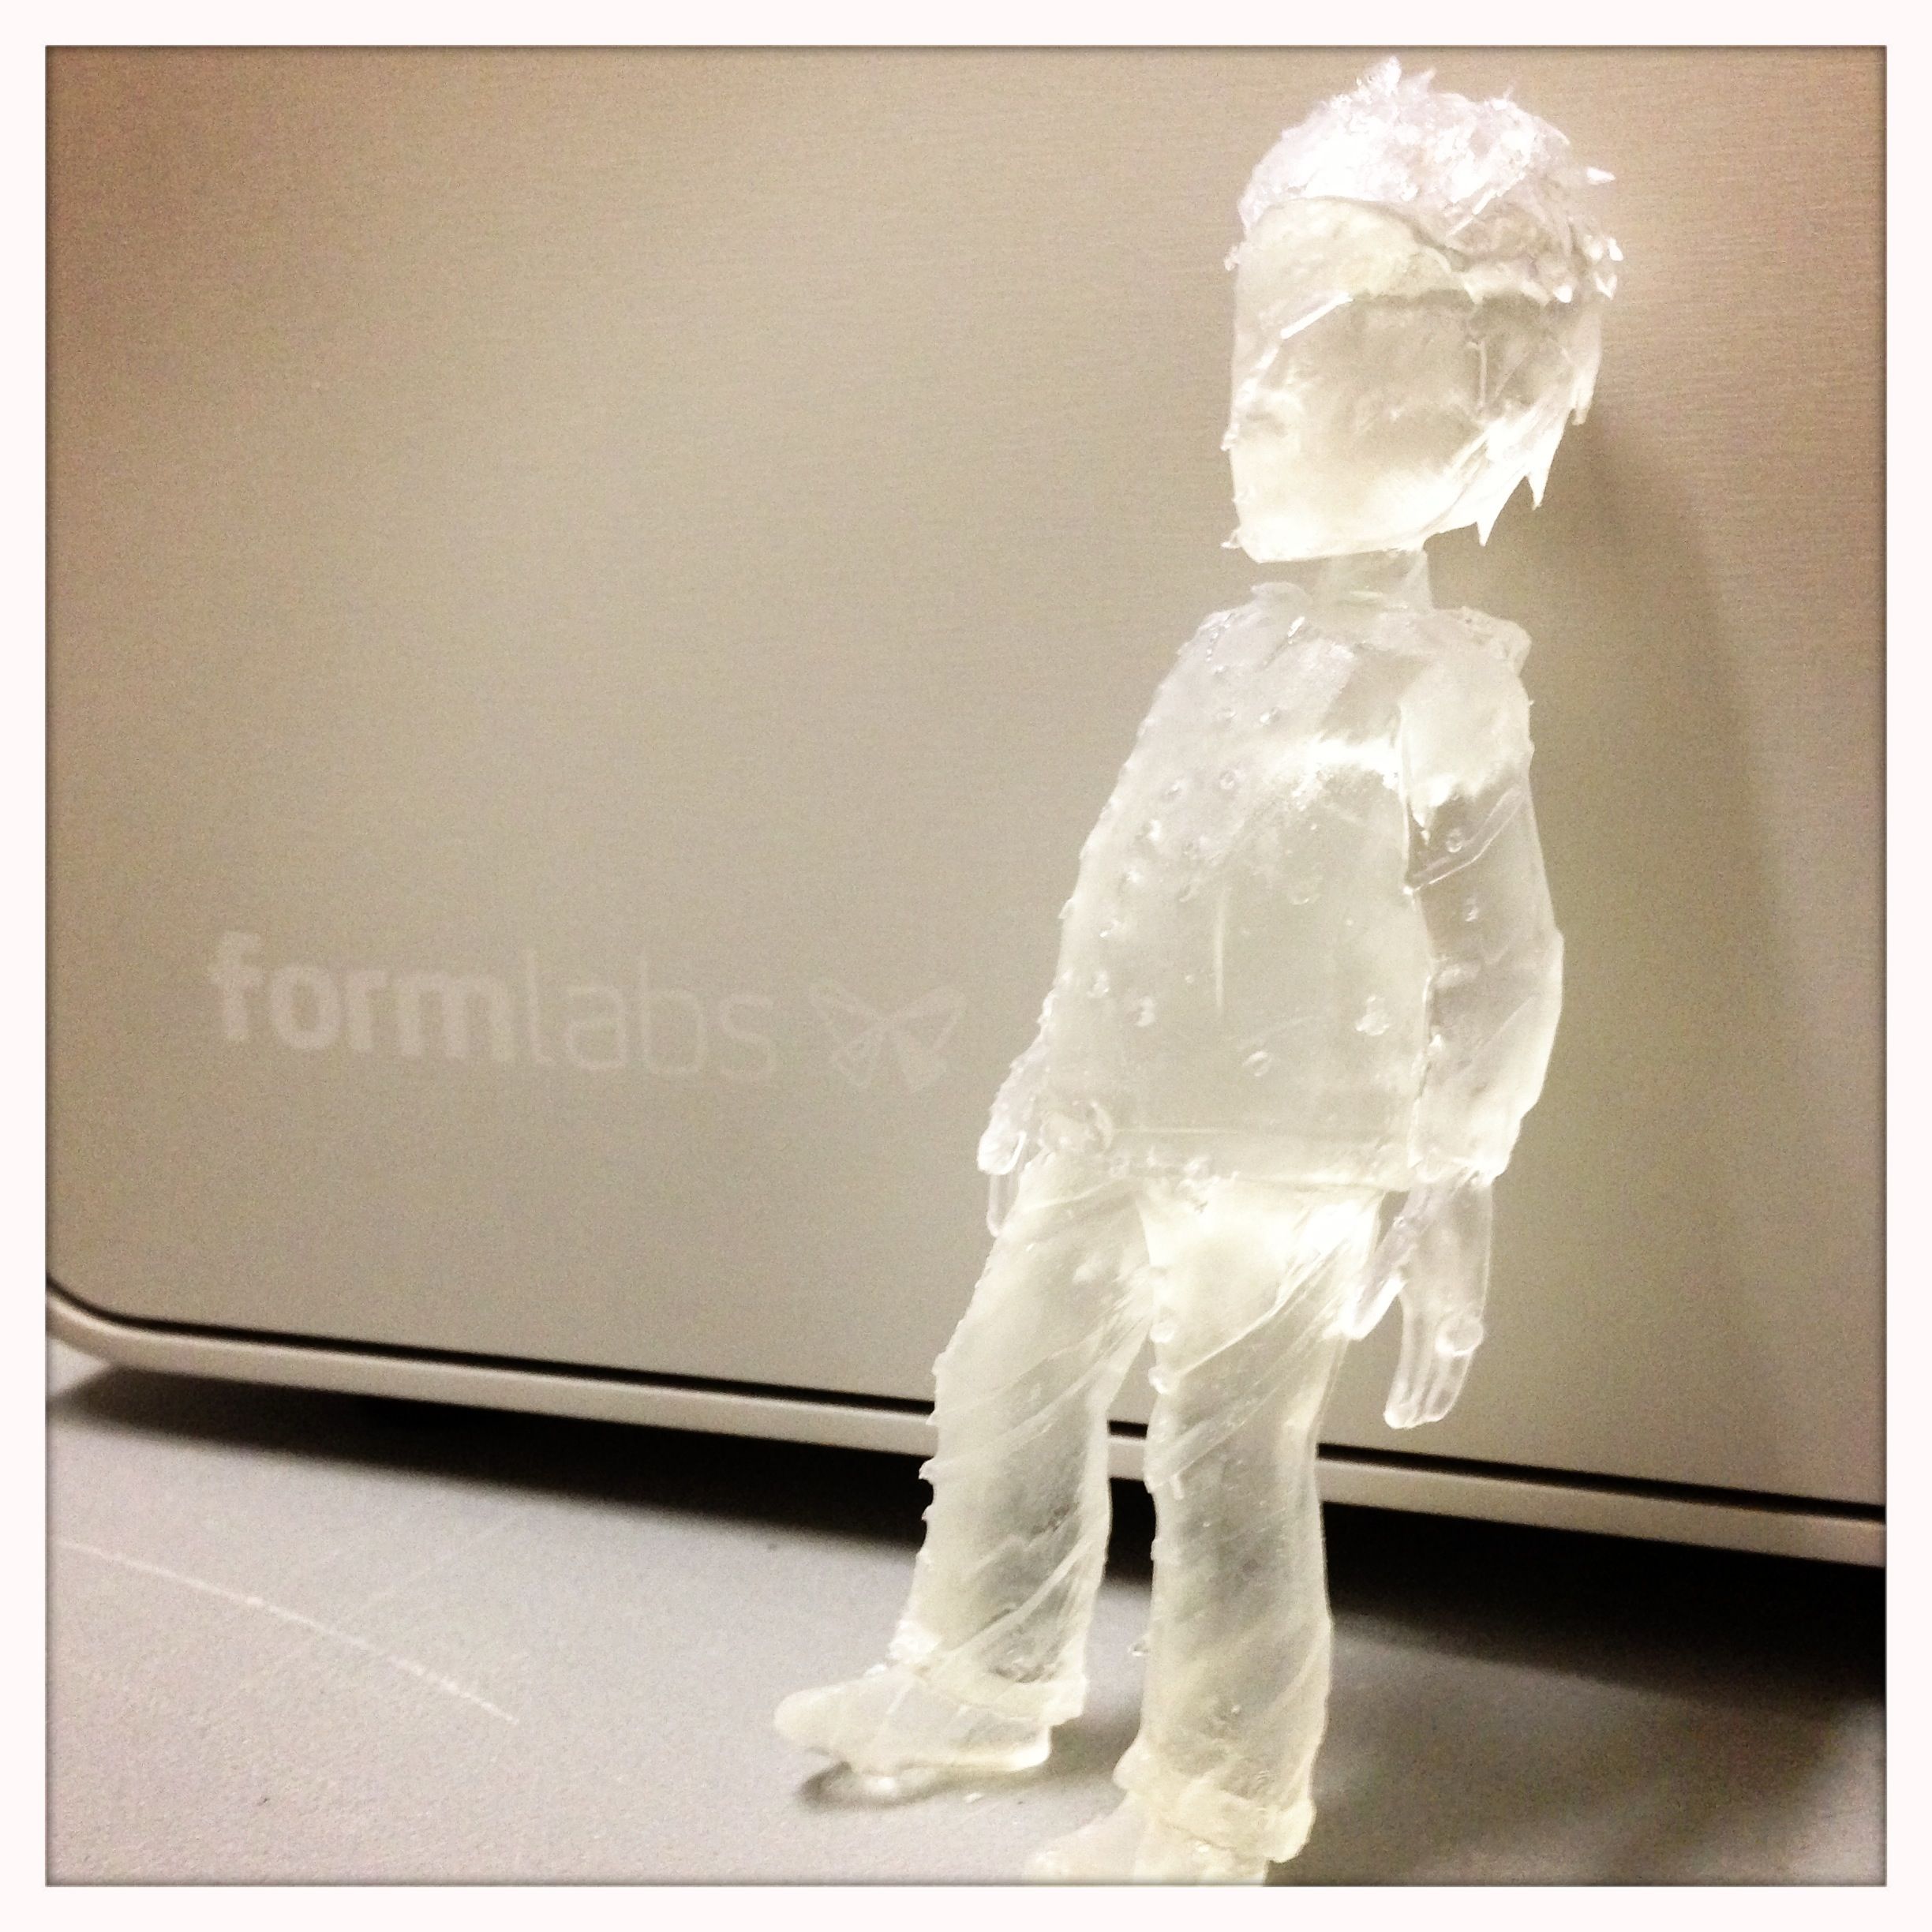
A quick look at ViaCAD for 3D printing

Always on the lookout for good software to use to easily design things to 3D print, I was excited to see a comment by Yuri in one of my earlier posts pointing me to ViaCAD. For $99, ViaCAD has a great price, but does the software have what it takes to make me use it?

[ MINOR UPDATE November 7, 2012 – Added a few points, in BLUE ]

Continue reading

Make your own antiques

Every weekend, my wife and I try to get out of town and visit some neighboring city, island, mountain, or valley. This past weekend was no different — we hit up the 170+ antique stores in Snohomish, WA. While looking through the items from days gone by, I saw two “things” together in a case that made me immediately think of my Makerbot, and I had one of those “I can make that” moments. Or, rather, “I can remake that”.

Continue reading