
UPDATE: Fall 2017
In this rapidly-changing, technology-driven world, what is relevant one day can become meaningless the next. This post has some good info but IS HORRIBLY OUT OF DATE! 🙂
What I mean is that in the last four years since I wrote this post, there is a new version of the Form 1 (the Form 2) with new formulations of resin, and Shapeways has updated their materials a lot as well. While I’m tempted to remove this post, I think the ancillary information and anecdotes are still good, even if the quality comparison in today’s market is meaningless.
The works I’ve seen coming off the Form 2 are super-quality (I still only have my Form 1+), and I’m pretty much only using Shapeways for metal and porcelain prints these days, so I am not able to update with new useful information. Take this post with that grain of salt. 🙂
—–
In certain circles, FUD means “fear, uncertainty, and doubt”. To others it means Shapeways’ “frosted ultra-detail” 3D print material. Yet to others FUD has an entirely different meaning. Today we’re talking about the Shapways 3D printer material, and how it compares to the Formlabs Clear resin.
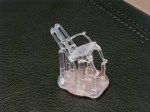
A couple of weeks ago I printed a tiny robot pendent and a tiny mech pendent and posted them to Thingiverse. I posted pictures of the prints from my Form 1, which led to discussing the Form 1’s quality with Kacie Hultgren of Pretty Small Things fame. While she is able to print a number of her miniatures on her Makerbot, she also uses Shapeways for items with small details, and is considering adding a Form 1 to her workflow. We decided it would be great to test the Form 1 Clear resin and Shapeways FUD side-by-side and learn what was to be learned, so she emailed me three of the STL files she previously had printed by Shapeways and I got to work.
The first thing I 3D printed was her Windsor fan back chair model. I figured I might as well start with the most detailed item and see if the Form 1 could handle it. I printed it at 0.05mm layer height using the clear resin settings without rotating the object, which means less support. The spindles on the back were quite thin and softened up a lot in the alcohol bath and just never recovered. I knew it would be a hard one to have work, but was surprised that it at least stayed together.


That night I started her Queen Anne chair with arms model. This one I printed at 0.025mm using the gray resin settings, and, like the Windsor, straight up. The gray resin setting makes for a slightly longer exposure, which helps small details works better, but at the expense of a bit of sharpness in detail. The results, however, were amazing. It’s hard to tell from pictures, but to hold a tiny, detailed chair on the tip of your finger is quite a rush, doubly so knowing that you 3D printed it at home in a little over an hour.


I had been wanting to try spray painting some of my prints with Krylon for Plastic paint, so I got some matte white and took it to the Queen Anne. The results were very impressive — it seemingly didn’t add any thickness, and really brought out the details.

Finally I decided to print all three models — the two chairs and a Bombe dresser — as one print job, using the 0.025mm gray settings. This time I rotated the chairs for best support and left the dresser straight up (a poor decision I’ll explain later). Four hours later and the results looked amazing. The Windsor chair spindles held together very well and the Queen Anne looked even better. The dresser was quite hard to make out the details, but what I could see looked good.
The Comparison
I packed the prints carefully in cotton balls and bubble wrap, and shipped them on to Kacie. She received them safe and sound, got to removing the supports, taking pictures, and letting me know her thoughts.
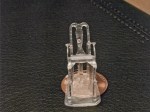
First up was the Windsor chair. While it printed beautifully, removing the supports from such a delicate print proved too much. It sadly bit the dust. No comparison here — receiving prints from Shapeways without supports wins for such tiny details.
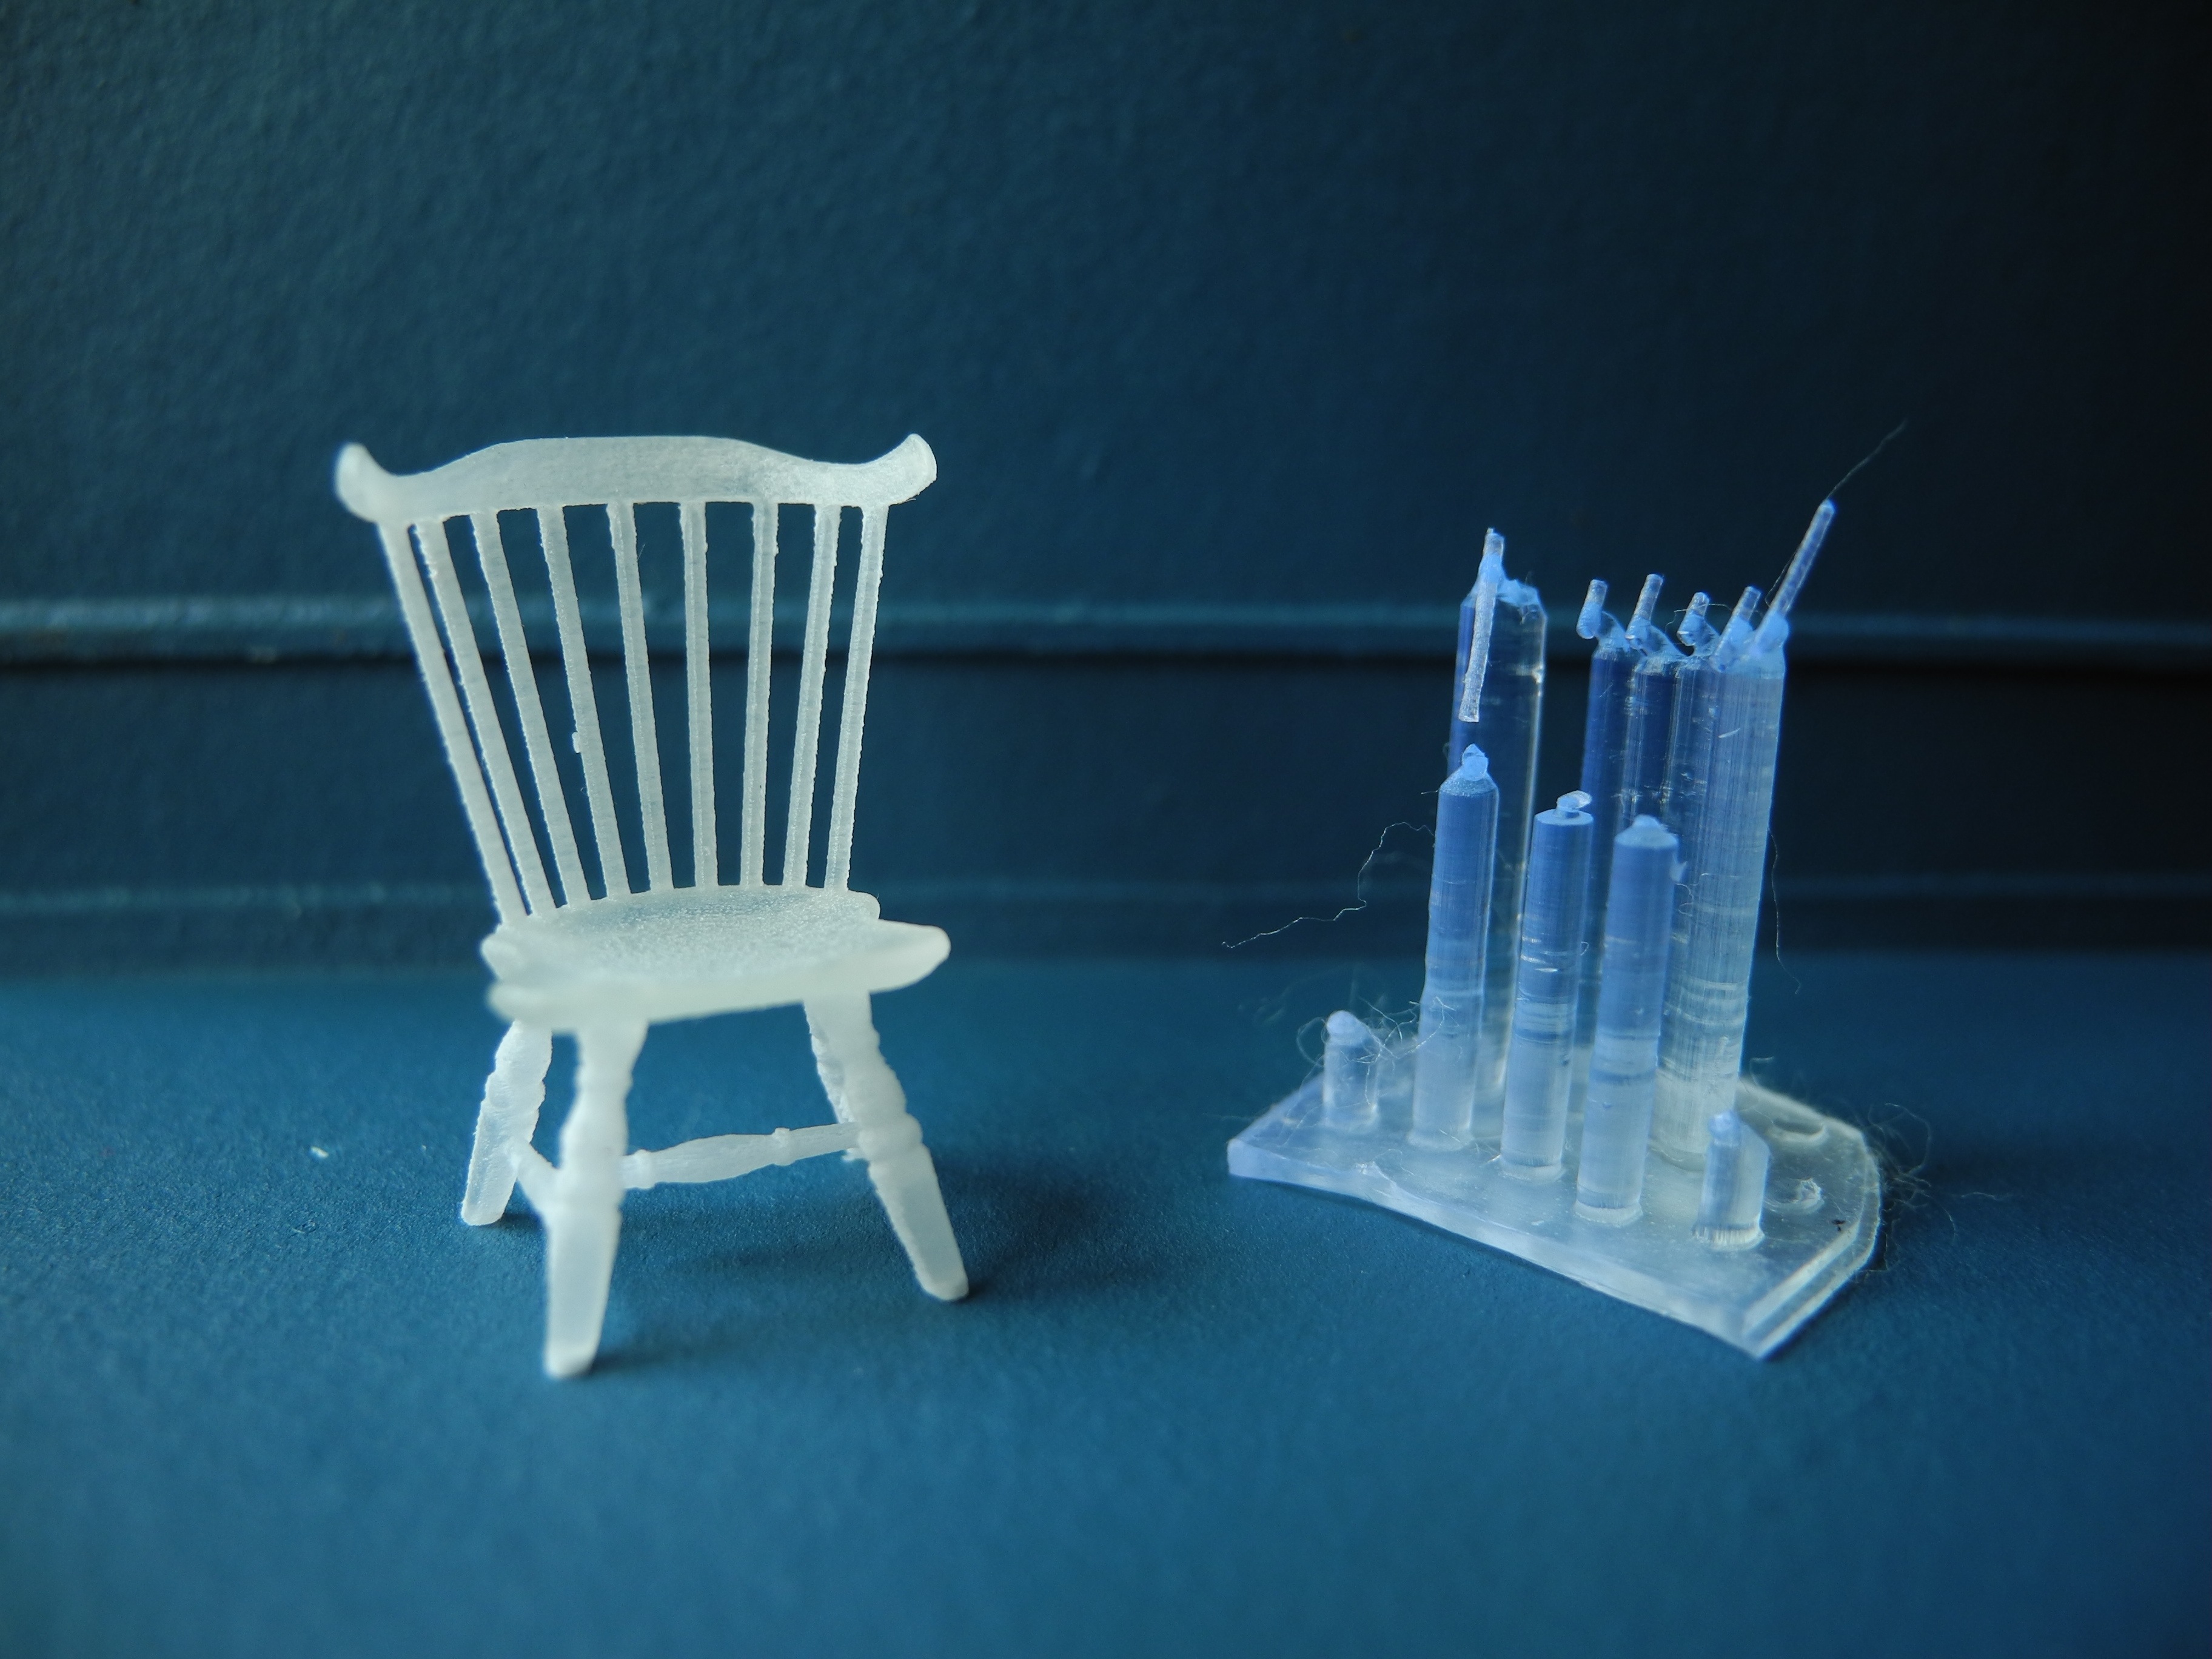
All that remains of the Form 1 print (right) is the supports.
Next up the dresser. While the body of the dresser held up well and showed a similar level of detail as the Shapeways FUD print (hard to see in this pic), the legs broke off while trying to remove the supports. Some of the supports were so close to the back legs that they fused together. Additionally, the supports that went up into the dresser were very hard to remove due to the small size. Again, a win for no supports. In the future, I’d print this one upside down so there were no supports on the legs at all, and then just have to sand the top smooth.
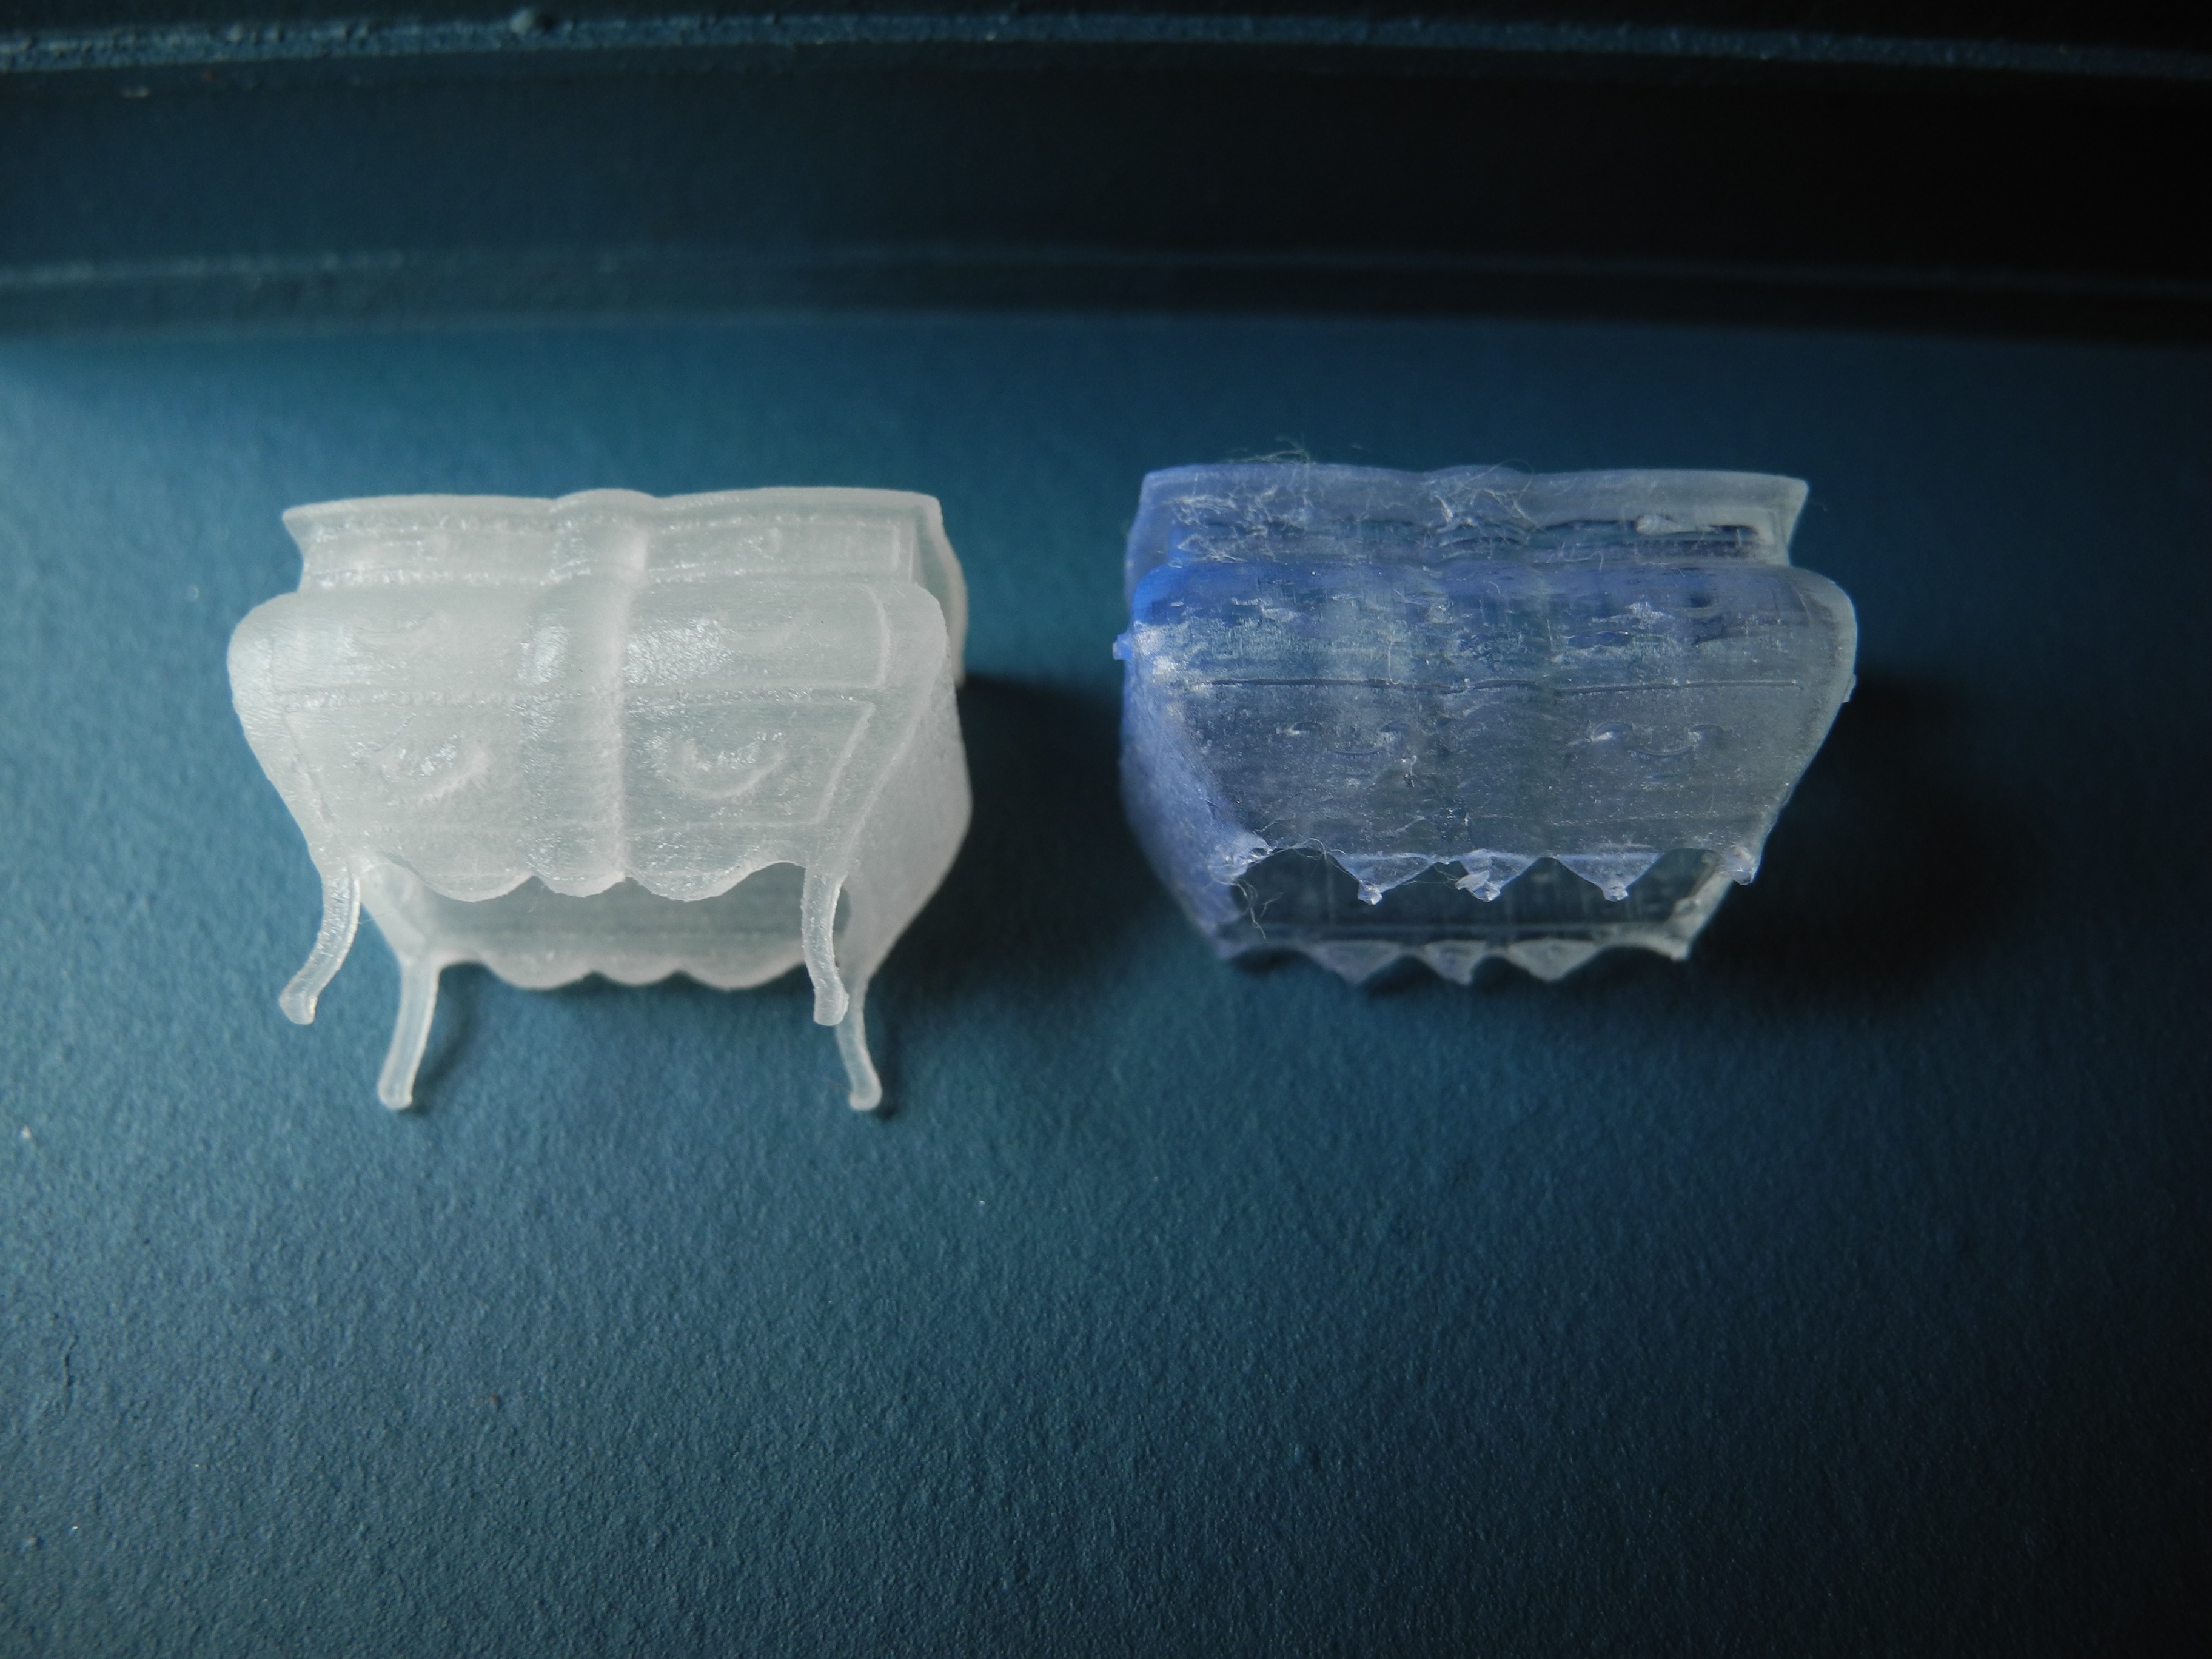
Good detail, but legs broke off removing supports (right)
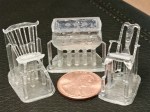
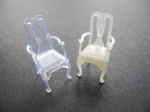
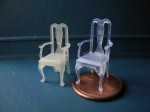
Finally, the Queen Anne chair. And finally, success! This one was able to be removed from the supports without breaking and looks quite nice next to the Shapeways one.
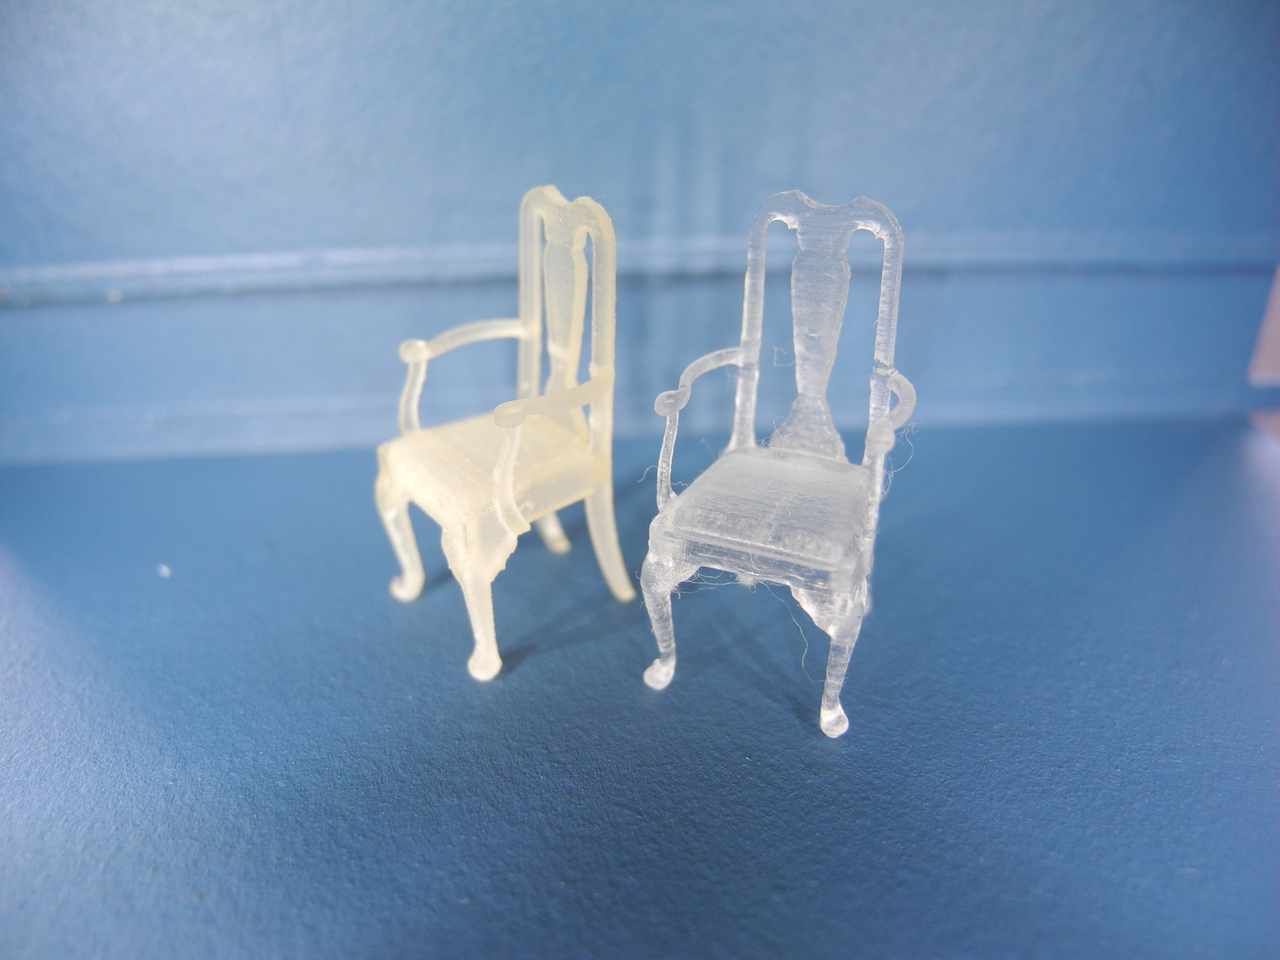
Success! Form 1 on right.

But does it float?
After handling the prints, looking at them in-person, and through the macro lens, is it good enough to switch to a Form 1? Short answer: no. Longer answer: maybe.
Kacie has spent a lot of time designing her models to meet Shapeways’ posted specs and knows from experience what to expect. Having to redesign dozens of models to best match the Form 1’s resolution and support structure needs is too much effort at this time. On top of redesigns, the added time and effort to remove and clean up supports — giving added time for breaks and failed prints — starts to make it hard to switch from a workflow that has proven viable. If it ain’t broke, don’t fix it!
That being said, there are several reasons that “maybe” could be an option: turnaround time and items too small to warrant sending to Shapeways.
The average turnaround time from Shapeways is 10-12 days for plastic items. Kacie keeps an inventory on-hand so she can fulfill her orders rapidly, but if she gets low or doesn’t have enough for a large order, she is at the mercy of Shapeways’ production cycle. Being able to try new designs, quickly add prints to inventory, or print custom one-off items are possibilities with a Form 1, and valuable to a dynamic business.
Second is small items. Believe it or not, there are items that Kacie wants to print that are smaller than the chairs that fit on your fingertip. Items such as “bowls, or fruit, or other small household items in 1:48 scale”. Having them printed by Shapeways and shipped is hard to justify, even if several are done at once. However, being able to start a batch before bed and wake up with 100 tiny Ming vases at 1:48 scale could be worth it. The question on items that small is the amount of cleanup necessary, and if they would hold the detail.
Conclusion
The thing that struck me from our conversations was that there wasn’t really a mention of whether or not there was a clear winner between Shapeways FUD and Form 1 Clear; the discussion went straight to workflow and other issues outside of actual print quality.
The sharp detail and lack of supports from Shapeways makes it hard to beat. If you have a lot of models that require fine detail and you know they already work with Shapeways’ FUD, there’s no need to switch. Starting new items focused on the Form 1’s specs and processes are a different story — you might not ever notice a difference. I imagine once the 0.025mm clear resin settings are tweaked to make them work a bit better, we might get sharper, more detailed prints than the softness of the longer-exposure gray settings. Of course once the gray resin is released, it may hold up the detail perfectly with its settings.
Time will tell, but I see a promising future as both software and resins get better; the only way to go from here is up.
I’d like to thank Kacie for working with me on this comparison, for letting me paraphrase her excellent feedback, and for providing awesome side-by-side photos. You can find a bunch of amazing models she’s designed on her Thingiverse page, and buy pre-printed models in her store.


Pingback: Formlabs Clear versus Shapeways FUD — a comparison #3DThursday #3DPrinting « adafruit industries blog
Pingback: Tiny chairs with the B9 Creator | my plastic future