
No, not the Ultravox song, the test of 3D printer resolution.
 A little background: a few days back I made a small robot pendent for my wife. She liked it, but immediately asked “what about a mech?”. I really am no good at modeling mech — I’ve tried, and just, no — so I went to Thingiverse and found a really cool MadCat mech model that I could turn into a pendent.
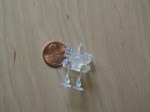
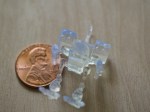
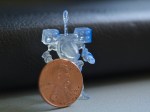
Since I wanted to push the resolution of the Form 1, I added a few extras like rockets in the shoulder rocket launchers and gun barrels in the arms. I also added the post and loop to make it a pendent.
If you look at the loop on the post, you can see it’s not quite the same diameter all around the entire thing; most of it worked, parts weren’t fully there. Now, this ring on the loop is only about 1mm in diameter, so it’s pretty cool it worked at all, but it got me thinking: how small can I make something and have it reliably work. Thus, my thin wall test.
 I didn’t want to spend a lot of time trying different things, just a baseline reference. Other Form 1 users have done tests, one of which is amazingly thorough and includes some thin item tests, but I really wanted to try a focused test with specific settings. It seemed the quickest method was a bunch of thin wall segments, with poles of matching thickness, accompanied by text showing their size. This was trivial to model in Blender, with the longest part the boolean unions on all of the parts. I started at .10mm and went in .05mm increments up to .55mm in thickness.
Given previous printing results, I decided to run the test printing at .025mm layer height using the gray resin setting. The gray setting has a tiny bit longer exposure time, due to the pigment. When used on the clear, it seems to make smaller items work better.
I didn’t anticipate anything below .3mm working, as that is the stated minimum feature size of the Form 1, and it seems those specs are pretty spot-on. The thinnest wall segment that worked was actually 0.25mm, while the thinnest pole was 0.5mm. However, I was looking for values that I could use reliably, and surrounding results plus the characteristics of these parts made me not jump to conclusions.
Pole Position
Only one pole came out complete out of all of them – the 0.5mm one. However, if you recall, my max width was 0.55mm and that pole did NOT work. So while it’s amazing to see the single column of resin, I think it was more of a fluke than the norm.
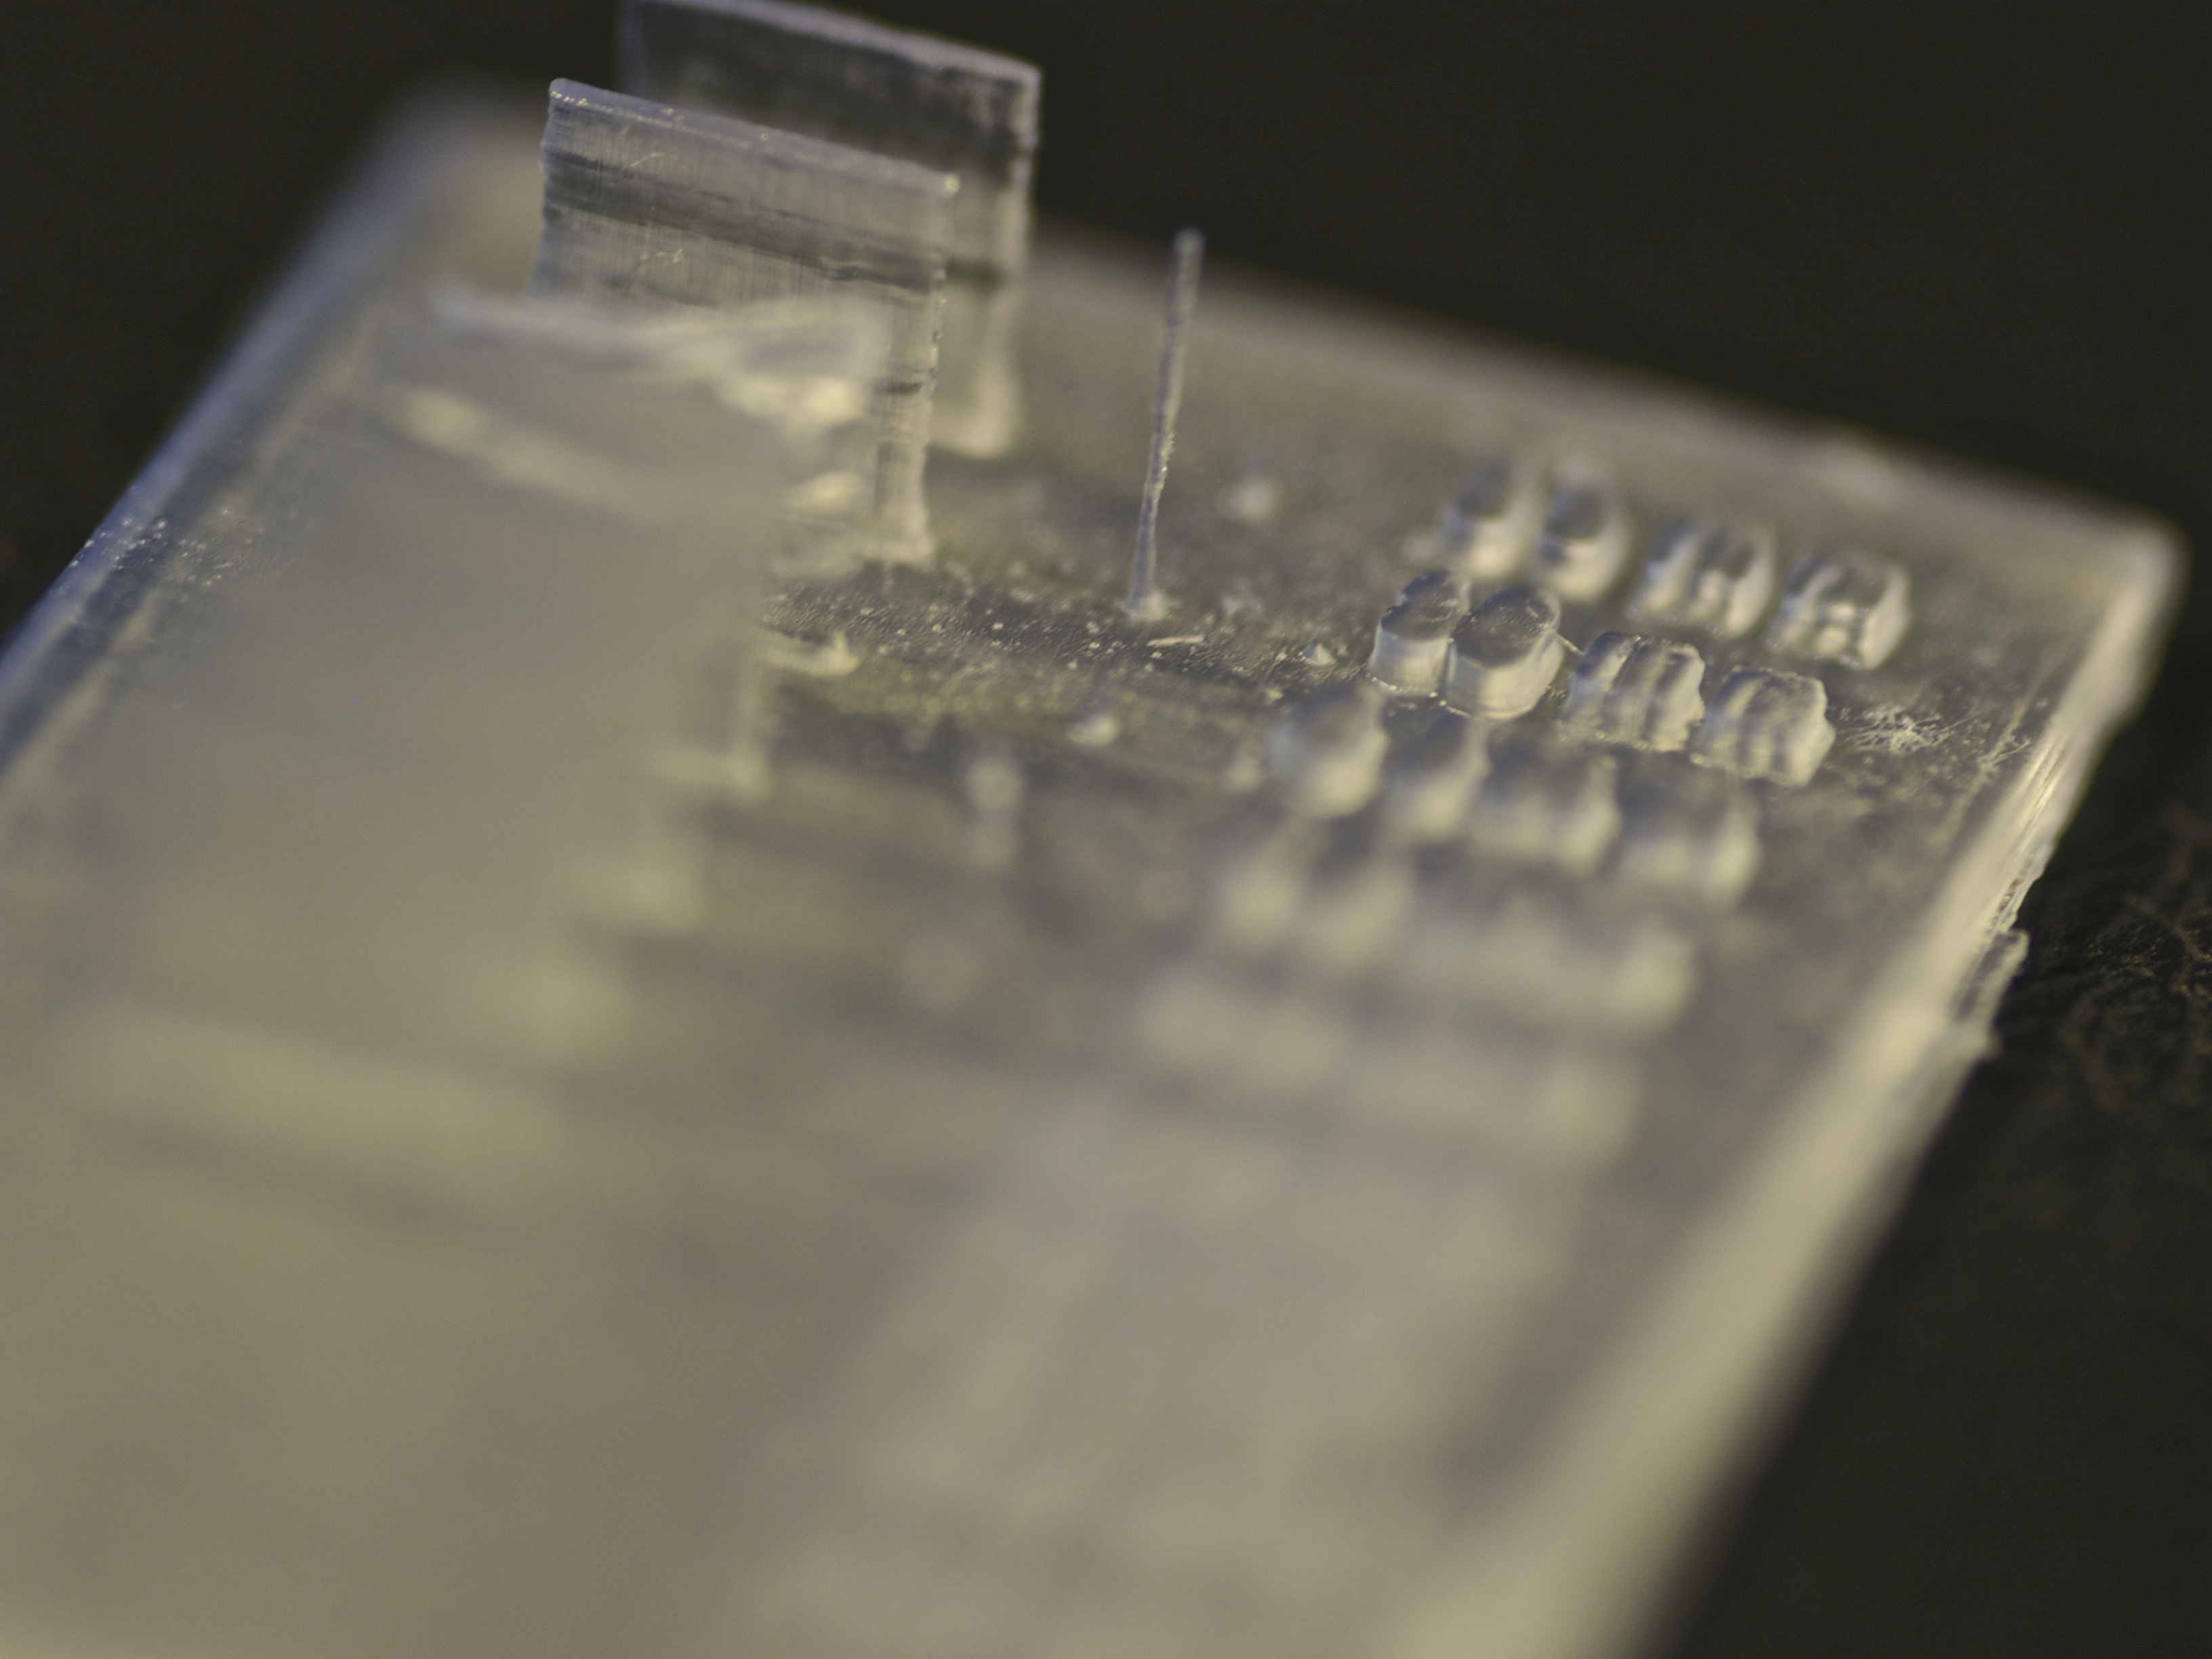
I would have to do another test to see where the reliable minimum pole diameter really is, but my gut tells me it’s in the .75mm – 1mm range. That being said, if you look carefully at the numbers on the print, the decimal point in front of the numbers is visible and this was just under .3mm wide, and you can see them quite well. Additionally, while only one pole was the full height, you can see a few layers on most poles down to the .25mm size. I believe that for small surface details, you can go all the way down to this .25mm thickness and get a result, though I wouldn’t count on it being taller than a few microns.


The Walls
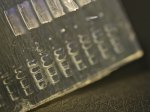
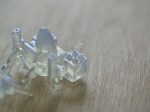
Next we have the walls — these are short segments 5mm long by 5mm tall with just the thickness varying. All of the walls below .25mm thick didn’t print at all. Well, you can see where the laser hit the layer below, but it wasn’t long enough to cause resin to form (oddly unlike the poles).
Above .25mm, all of the walls worked, though the .45mm wall was slightly messed up, as you can see in this picture:

When I printed my box with a living hinge a week ago, I made the hinge .2mm thick and it failed to print. This test confirms that I made a bad choice. However, if I had made it ever so slightly thicker, it would have had a shot at printing correctly.
Which brings me to some interesting observations.
I ask myself, is it a sin to be flexible when the boat comes in?
Another obscure early-80s song reference. I apologize.
Immediately after printing and cleanup, the really thin walls were quite wobbly and not wanting to hold their shape. The .5mm and .55mm walls were solid and not going anywhere. Now, a day later, the piece has had time to sit, fully dry, and cure a bit more. What I’ve discovered is that the thinnest walls — .25mm – .35mm — are very flexible but still able to hold together. The thickest walls — .5mm – .55mm — were still very solid, not flexing much at all. Even the .5mm pole was able to retain its upright shape after moving it around with my finger. I shot a quick video testing the wall flexibility which you can see here:
These results are very encouraging for designing parts that can be bent or flexed, or for more interesting parts with springs, or even 3D printed “fabrics”. But what has to be taken into consideration is that when printing, these parts are incredibly flimsy and soft and could have an effect on the layers around them.
Imagine you are trying to print two pieces joined by a series of .3mm walls. From the time the printer gets to the walls through the rest of the print, the inherent softness of the walls could allow the layers to shift between layer peels, resulting in parts that may or may not be correct; you won’t be able to tell until the print is complete and then you might have wasted precious resin. That being said, I believe this issue could be compensated for with properly-designed custom support structures.
Conclusions
In the end I think my unscientific tests have shown me some really good results, given me bounds to work within, and sparked some ideas for ways to make new, interesting objects.
- Walls below .25mm thick: No way
- Walls between .25mm and .45mm:
- will print, but probably not reliably
- will flex after given time to dry, but may cause print issues
- Walls above .5mm thick:
- will print reliably
- will not flex after drying
- Poles: nothing below .55mm is reliable, at least not taller than a few layers


So is the hoop on your mech strong enough to hang from a necklace?
Yes, it is, though it is very delicate. Not good for wearing while jogging/dancing, or for kids to wear. Really, it should be redesigned to be a little thicker, which I may still do.
Nice write-up! 😀 I really like that MadCat pendant. I haven’t played MW in quite a long time, but it’s so iconic that I instantly knew what it was.
Strange that your 0.045mm wall didn’t print correctly. Did it come off the printer that way, or was that after the alcohol bath? I’ve had some parts print well but fall apart after the bath… honestly, the IPA bath has started to scare me more and more lol. Another thing that could have contributed is the layer height; I’ve had far more prints fail at 0.025mm than at 0.05mm or 0.1mm layer heights. Perhaps the layers just aren’t curing strong enough to withstand the pull of the peel process.
The 0.45mm wall was definitely messed up before the alcohol bath, but it was hard to see how. After the bath, it looked like a couple of layers on that one got misaligned between exposures. In FDM world I would say that it started to de-laminate a bit, but that’s not really possible here, especially at .025mm layer heights. I’m guessing your hunch about not curing enough for the peel is probably what’s going on; this should be fixable by a materials settings update.
Pingback: The Form 1 might need calibration after all… | An Idea per day