
As I mentioned in my first attempt at creating a very small headphone shirt clip, I wanted to revisit the design and make some adjustments based on what I had learned. I got a chance over this holiday weekend to do just that — take some more measurements, make some new designs, and print some more clips.
There were several observations about the first version that I immediately wanted to correct:
- The arms that were supposed to go around the shirt button were too short
- The arms were just too thin
- The section that went around the headphone cable was too narrow and just not right
To correct these problems I did the following:
- Got rid of the idea of going around a shirt button. This was a neat idea, but in the end I decided it wasn’t really necessary; if I switched the “bumps” around to make a zig-zag pattern against the shirt itself, that should suffice
- Made the arms just a little thicker (+0.5mm)
- Increased the space for the headphone cable to slide into, and adjusted to use the same zig-zag style compression feature (I’m sure there’s a name for this, but I don’t know what it is)
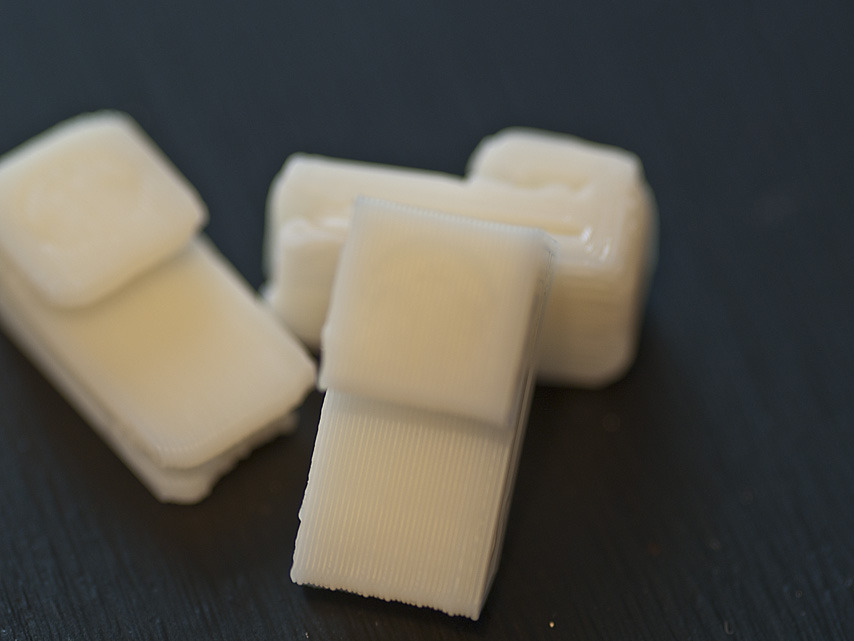
Here is the design in SketchUp and pics of the print:

While the design looks good, the print looks horrible (again)!
The tip of one of the arms didn’t stick to the heated build platform, and pulled up when the second layer hit it. I thought maybe it was the print settings I was using: I had intentionally slowed down the print from normal speed to see if it would make a finer print. So I re-generated the gcode using the normal speed settings and tried it again. Same result.
The second print I was observing more closely than my normal fixated watch, and I noticed what was happening. Since the corners were rounded, the layers after the first would extend beyond the layer below just far enough that they would sometimes catch the layer below and pull it back.
While I’ve printed items with rounded corners before without problem, they were not at the small scale that this item is. The ratio between overhang to the layer below wasn’t right for this clip. Solution: no rounded corners for tiny objects.
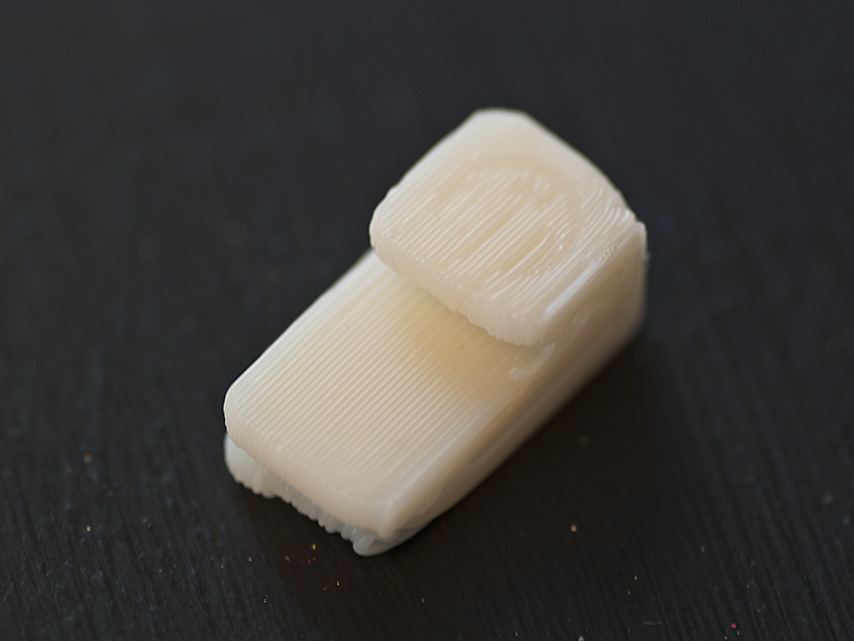
I quickly pulled the item up in SketchUp and rebuilt it with straight corners. The design was much more “boxy” and didn’t look as commercial as the previous versions. The print: almost perfect!


It printed without physical problems, but once I got home and put it on several pairs of headphones, I realized that the part that clips around the headphones still needs to be adjusted. While the height is perfect, the zig-zag bumps weren’t spaced correctly to hold the cable in-place, and the outside bump probably needs to be a touch taller. This doesn’t stop the clip for working as intended, just not as perfectly as I had hoped.
Of course, this is the beauty of “desktop innovation”: I can iterate as quickly as I want to with design and 3D prints to get to a final object that meets the intended goals, let’s me learn along the way, and is just plain cool.
The Tiny Details
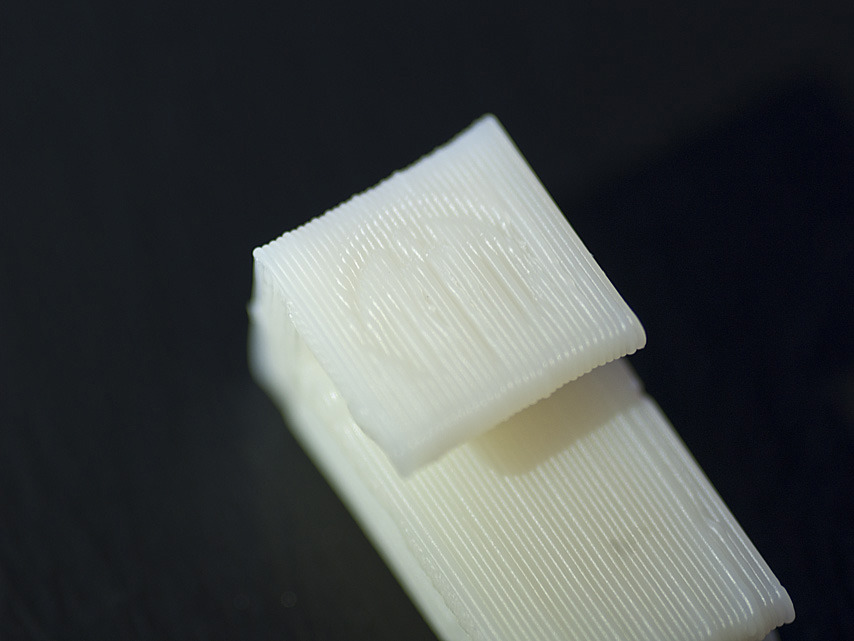
You might see that there is a small logo on the item. It is a pair of headphones merged with an iconified version of a shirt. I figured that if I’m testing one dimension of tiny, why not test two by seeing how an embossed design looks at this resolution. In all honesty, I’m surprised it showed up at all! It’s certainly not as distinct as if it were on a injection-molded plastic piece, but for a home 3D printed piece, it’s not horrible.
The Thing Online
While not perfect, I think this is a good enough place to be to post it to Thingiverse. If nothing else, it might serve as a test of printing tiny things with your 3D printer. I’ve posted both with and without the headphone logo.
You can find the files here: http://www.thingiverse.com/thing:14015

