
Ten. That’s how many completed print jobs I managed over the long holiday weekend. Yes, there was also one aborted print. Ten is fantastic given my previous concerns about over-heating, bad electricity, inconsistent temperature settings, and so forth. And the outside temperature was below 100-degrees for the first time in seemingly years. This really was a good weekend for printing. Of course, just a few miles away, Texas burns; not all is cake and ice cream.
After our move in May, my wife set about building a 2′ x 2′ “stage” to mount items in for her photography. As she also does a fair amount of macro photography, I wired up some 10mm ultri-bright LEDs (basic LED -> resistor -> 9v battery) for her to use as small-scale lighting. I gave her plenty of wire to place them where needed, and left the terminals on the LEDs so she could also stick them into the floor of her stage. This worked well, but they were quite harsh. Waiting for the MakerBot to arrive, I had planned on printing some sort of LED holder once I was up to speed. Now, pleased with all of my learnings thus far, I decided the long weekend was the perfect time to design, print, and assemble a multi-part LED holder with diffusing cover and adjustable stand!

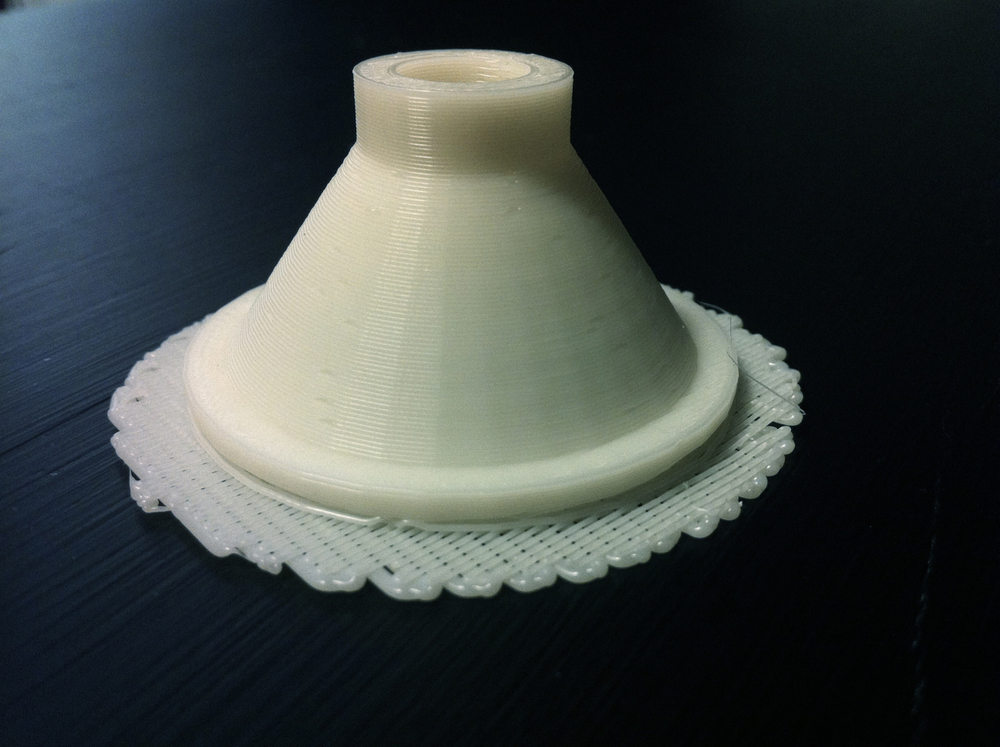


My first print of the base sucked so much I aborted the print. The classic “not enough heat to stick together” deal. After adjusting the temps in the gcode I reprinted. Much better results, though an overhang inside the base got out of hand and sagged (I’ve since adjusted the model, but haven’t reprinted this part), and more annoyingly the raft didn’t want to come off completely which left a rather messy edge. I wasn’t too concerned about the inside of the base as I knew I was going to paint and foil (silver leaf) the inside; this would stop light-leaks and reflect the light around.
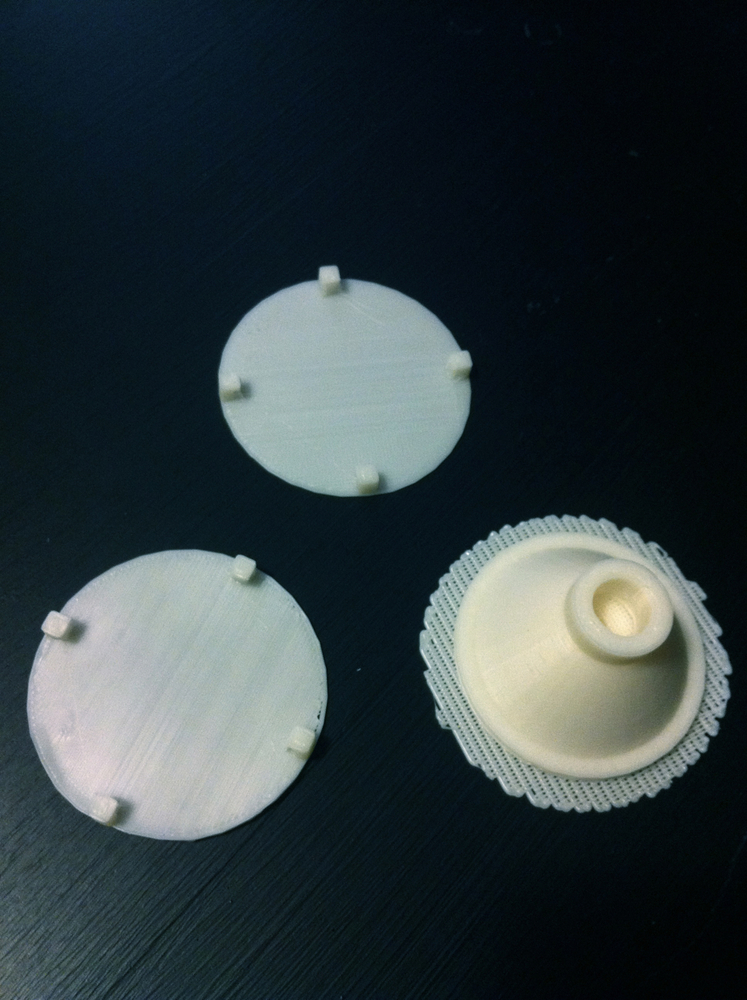
My first print of the diffuser cover also didn’t stick well and curled up a bit. My second print after adjusting temps worked perfectly. I had to add in my own support structures for the overhang, but these came out easily with a small utility knife. One thing I didn’t take into account was shrinkage; the clips fit, but just barely. Another quick adjustment and re-print and they were spot on (despite the messy edge’s best attempts to keep them off).
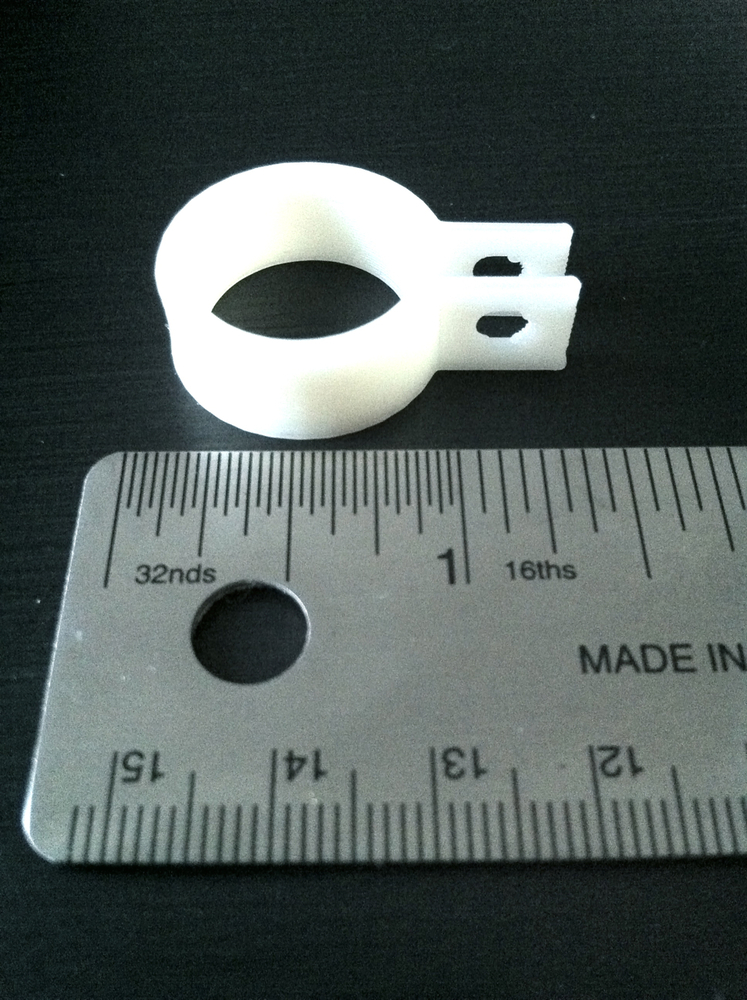
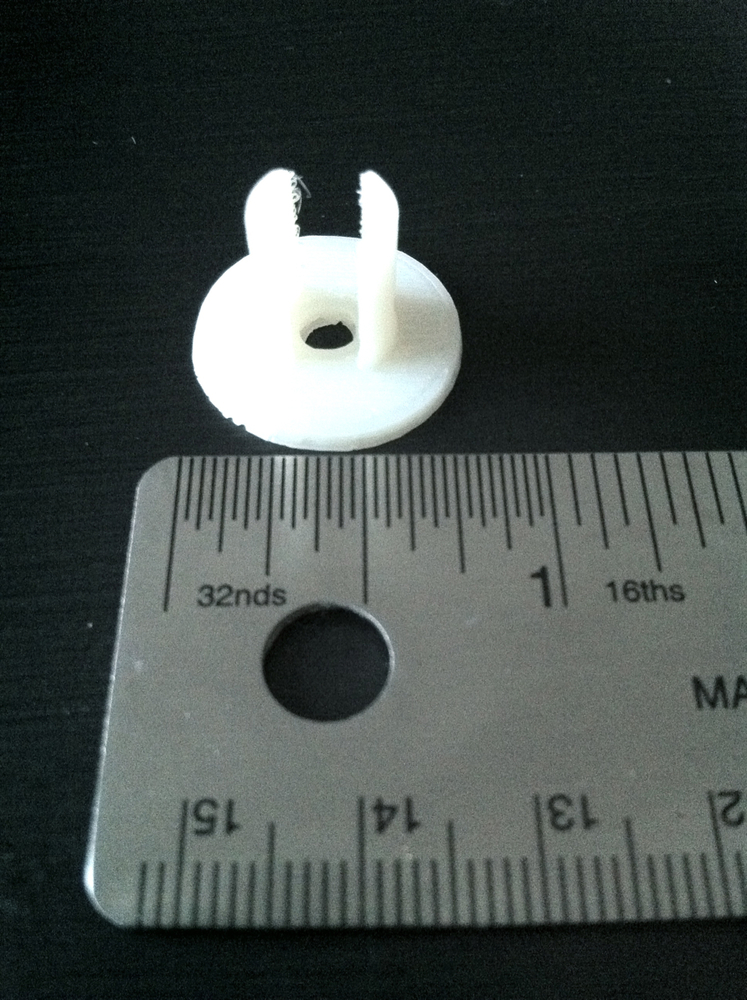
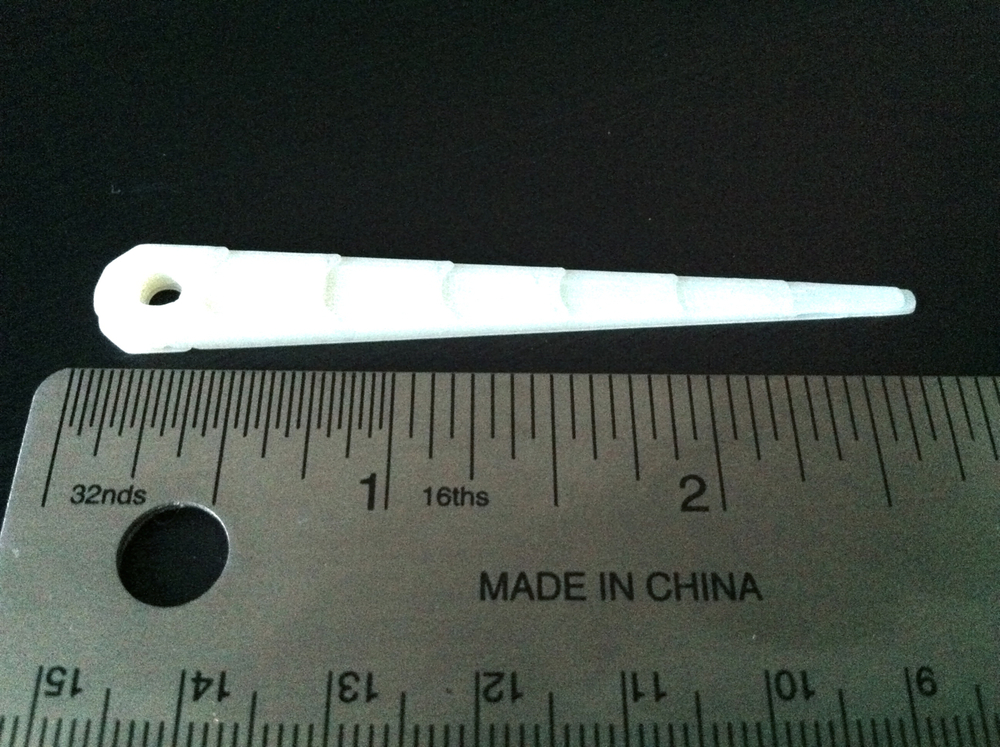
The more interesting part in my mind was the clamp and the “stick” that would go on the back of the base to allow it to stick into the foam my wife uses for the floor of her stage, and with the right bolt would allow for adjustment of angle. I decided on a #6 bolt with wing nut and made the holes accordingly. I forgot that we didn’t have any of our bolts anymore (got rid of those with the house) and I’ve yet to make the drive to a hardware store to get some. I think the clamp and stick came out really well, and I’m excited to see how they’ll work with the bolt.
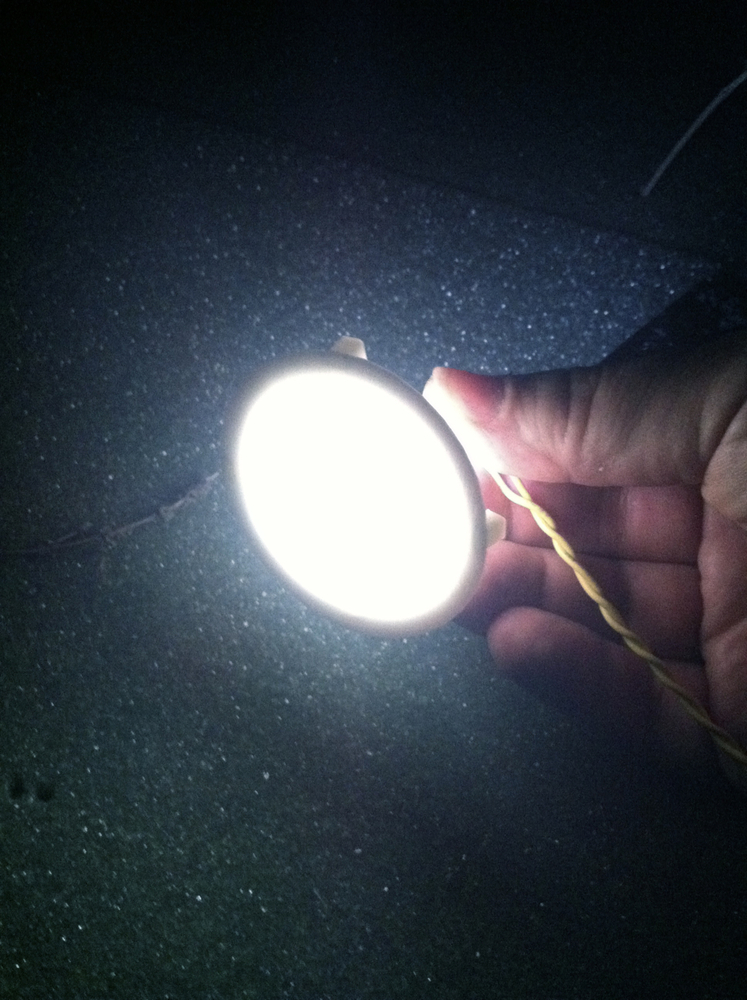
Finally, after painting and leafing the base, putting a LED in, and plugging it in, I realized that I needed a small plug at the end to better keep light in, but it also needed to have just enough room for wires to get out. A quick trip into Blender and another run to the studio had a great plug, if not 1mm too long. Oh well, I’ll sand it down.
But wait! All of this was only eight of my ten items — there are still two more to go!
First, I designed and printed a small plug to test mounting something to a piece of metal with pre-drilled holes. Worked like a charm, though a bit tight. I attached it to the metal and was so excited it worked I forgot to take a picture.
Finally, I printed a piece of driftwood. Well, kind-of. More like a twig, or a leg missing a foot, or an elephant’s trunk depending upon which angle you look at it. This item stemmed from talking to a colleague about combining the organic with the mechanical. We both really liked the somewhat planned, somewhat accidental texture of the printing process visible in MothBee. We were discussing lighting and natural forms and I said “what if I could print interlocking pieces of ‘wood’ that I could stain with wood stain, then stick LEDs inside”. We both liked the idea, so I added it to the list of things to try.

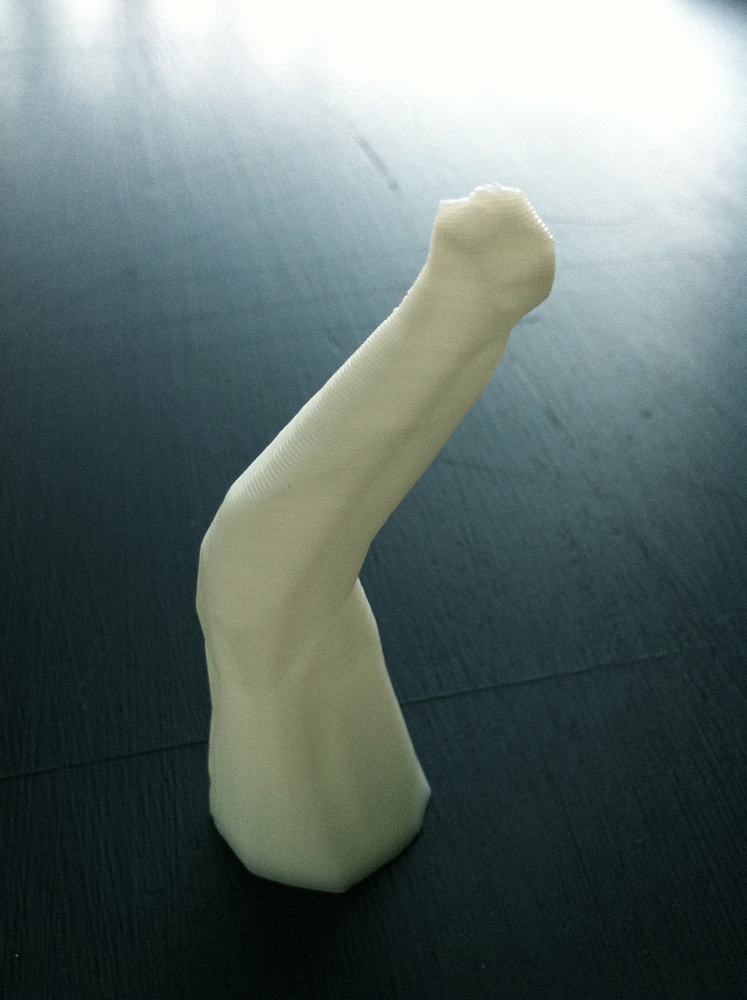
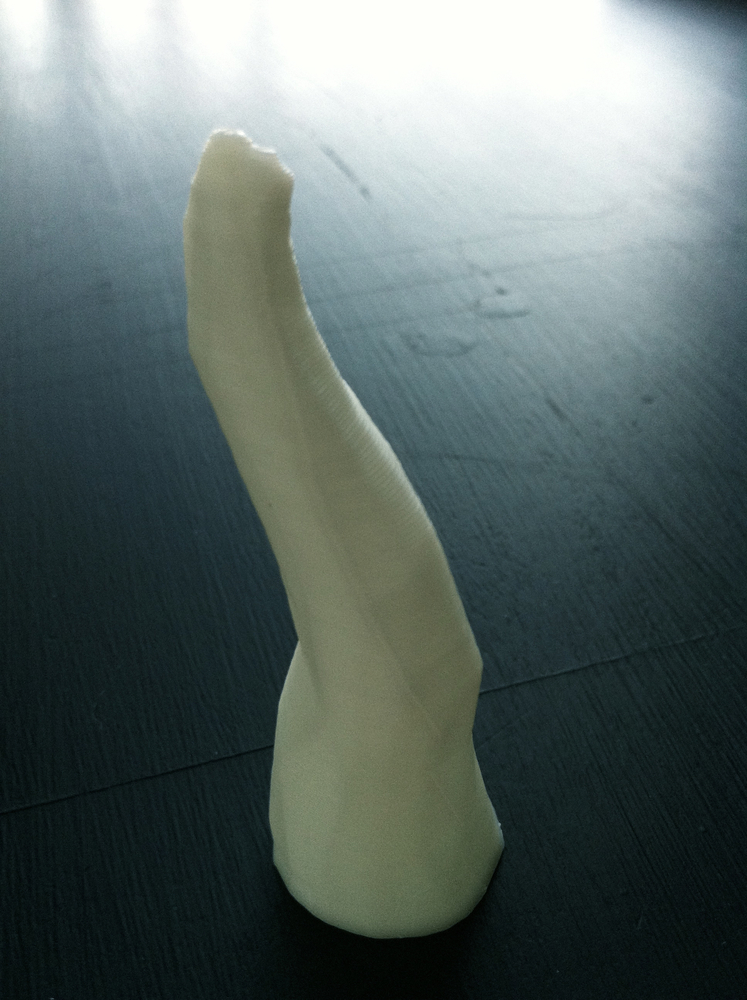
I went into blender, extruded a circle along a tapered path, bent it around, sculpted it some, then used the decimate tool to knock it down from a smooth 60,000 polygons to around 900. This gave a really nice natural form, with harsh angles that I imagined would be accented nicely by the printing process. Well, the print came out way better than I imagined, however it also came out way smaller than I planned. Working in millimeters it is so hard to get a good sense of scale (stupid USA not using the metric system).
After slicing and sending to the printer, an interesting thing happened that I had only seen once before — the printer went really really slowly (this hollow print took an hour and three minutes, while most everything else has been in the 10-50 minute range and had 30%-40% infill). At first I was concerned, but then I realized it was doing a fantastic job! I really think this is the best print I’ve gotten out of my ToM. It doesn’t show in the pictures, but the resolution seems insanely fine. I’m not sure I want to put wood stain on it becuase it just feels and looks so nice as it is.
Between my 3D printing and my wife doing some alternative-process paladium prints of an awesome picture she took of some skeletonized leaves, I’d say it was a kick-ass weekend. Now back to those fires…

