
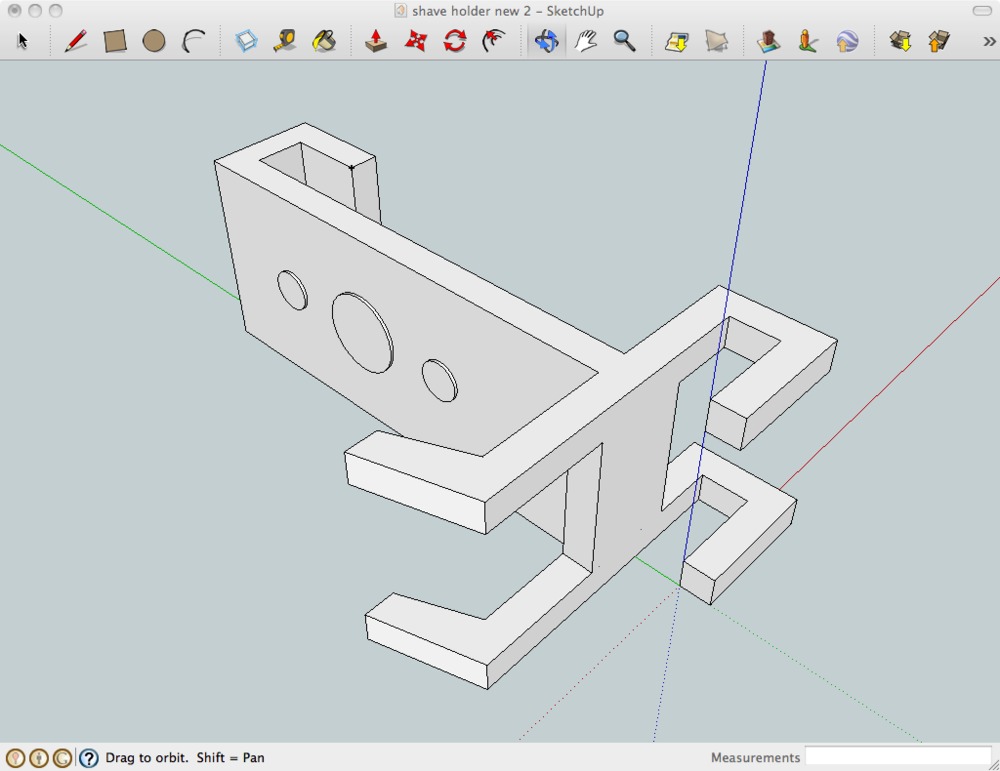
Just prior to slamming the extruder into my heated build platform (HBP), I was going to print a razor holder that would hang on the side of the wire baskets in the shower. However, after that horrible (at least mentally) event, I switched to something smaller (the shelf clip) so as to not waste plastic. The wait paid off.
I realized that the design I first had for the razor holder was way too solid. That is, there were parts printed that would have been both time-consuming and using too much plastic. I also had built it as two independent parts — one would slide into a hole in the other. Having time to reflect on the design, I was able to redesign it as one piece with much less waste. I was also able to add a tiny bit of surface design, just as a test (future knowledge). The new design is still very boring, but it’s functional.


I still had concerns over the printer in general; the first few layers of my last prints were not sticking together very well, and I was getting the warping at the bottom of the prints. These both seemed like heat issues, but since my first prints — prior to the extruder slam — were perfect, I wasn’t sure if it was heat or that I messed the whole thing up. One thing that dawned on me was that I had started using the “natural” color ABS instead of safety orange. Online posts stated that the natural ABS needed different temperatures (with one clear working example of using 210C instead of 220C for extruder, and 100C instead of 110C for HBP). I tried these temperatures and had no luck; I still had non-merging bottom layers and warping.
While at the studio I did a quick google check for “HBP warp temp” or similar and found almost the exact opposite of the previous “solution”. In the new case, I needed to raise the HBP’s temperature to 120C from the normal 110C and keep the ABS at the normal 220C. I know settings like these are contingent upon many factors, but this is probably one of those areas that will annoy non-techies more than anything. Anyway, I plugged these in and ran another print. BOOM! That totally rocked! Kind-of.
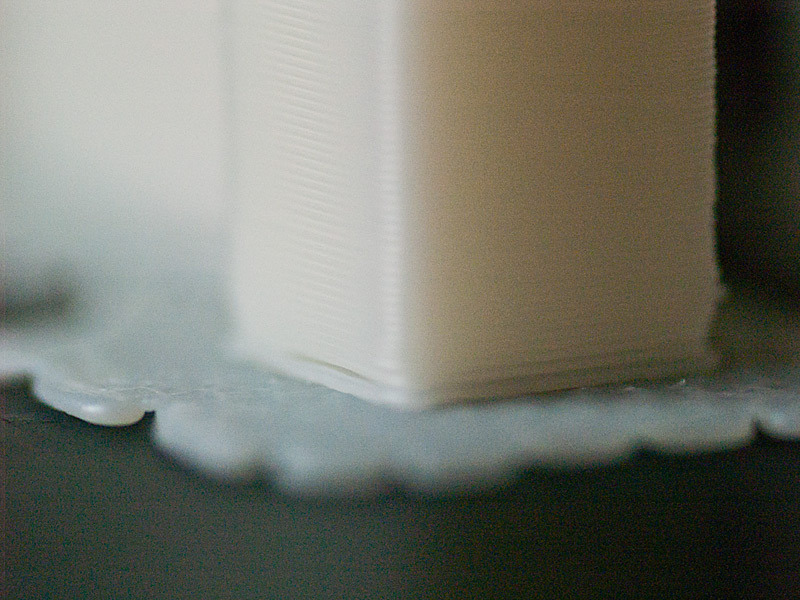
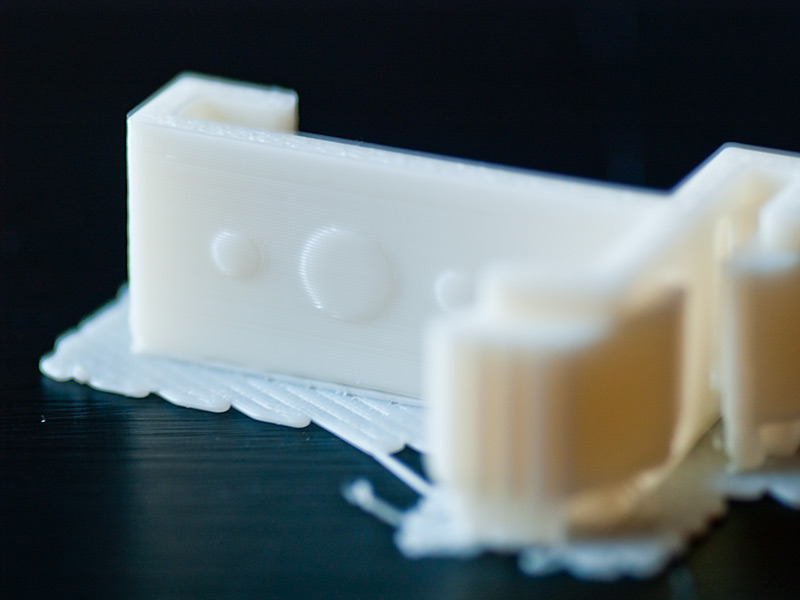
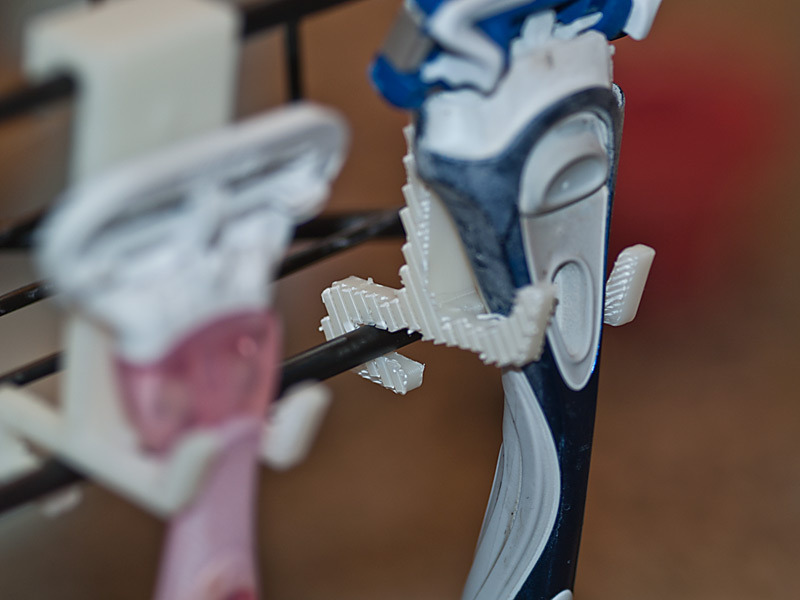
If you can see in the pictures of the shaver with the straight sides all the way to the bottom, it is perfect. However, what isn’t perfect is that the raft (again, the two layers at the very bottom to allow external support structures) fused into the bottom layers and became impossible to come off. The raft on the first print came off great as expected since not even the object was sticking together well.
This issue did have a positive side-effect, however. The extra bit of plastic that I hadn’t been able to remove served as little “bumpers” on the holder and kept it firmly in place on the wire shower basket. See, in my original design I had added little bumps on the inside ends of the parts that went over the wires to keep them in place. In my haste to get the new version done, I didn’t add those bumps thinking “my caliper measurements are perfect and I don’t need such things!” Wrong. While my measurements were spot on, the weight of the razor caused the holder to push back at the bottom (see the image of the first printed holder with the pink razor). Bumps would have stopped that from pushing all the way back, as well as created a better user experience (not wobbly or loose). The second print with the added raft bits worked this way and held the holder solidly in place.
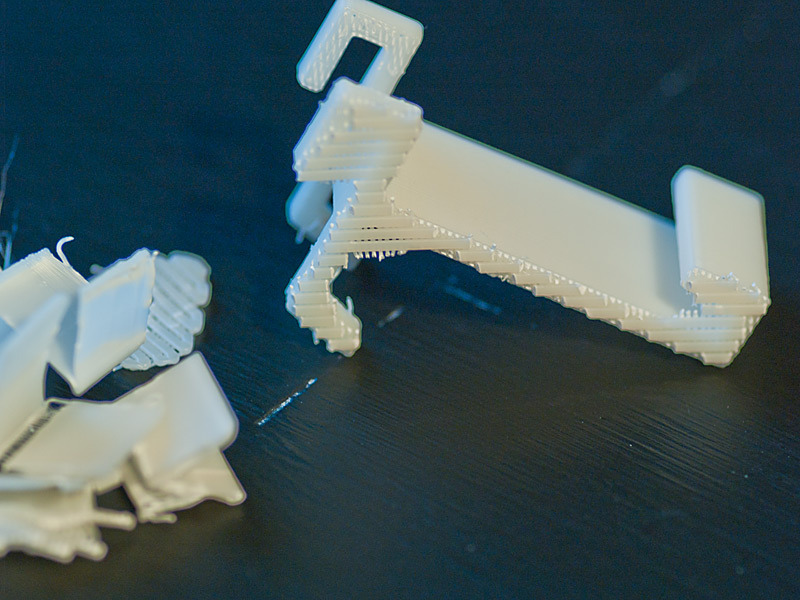
One thing keen viewers may note is that I printed the item rotated at 45-degrees around the Z axis. This was because looking at the gcode in Pleasent3D I could see that the first layer of the upper extensions fell between the columns of support! That would have totally ruined the item. So I rotated the item in ReplicatorG and regenerated. This fixed that issue, but created another — there was a stray support structure built in the middle on the side and made for some really odd extra extruder circling paths. I am going to look into changing the Skeinforge setting to either print the supports at a different angle, or possibly use the criss-cross support instead of columnar.
As a side note, I really like using ReplicatorG and the “Print-o-Matic” dialog instead of the myriad manual settings in Skeinforge. However, I do not like that it won’t print support structures without turning on the raft setting (I spoke with MakerBot and they took my suggestion to consider decoupling these as I see a need for internal-area supports on raftless items – a-la my remote control holder).
So, today I think I’ll be adding bumps to the model, looking at Skeinforge settings, and figuring out the raft settings so that I can remove it this time! I want to start printing with my PLA, but need to get these kinks worked out. At least I’m pretty sure I didn’t break the thing. 🙂
[ UPDATE ] Looks like the Thing-o-Matic does not like to operate outdoors when it’s 102 degrees in the shade (and it was in the shade). LCD screen went all crazy-characters and after I turned the machine off it didn’t come back on! Had to take it inside the studio and let it cool down for about 10 minutes before it turned back on.

