
So last weekend I did actually print something, despite the lack of post on this site. It was the first (of I’m sure many) of my “good print, but really?” moments. And of course it was super mundane.
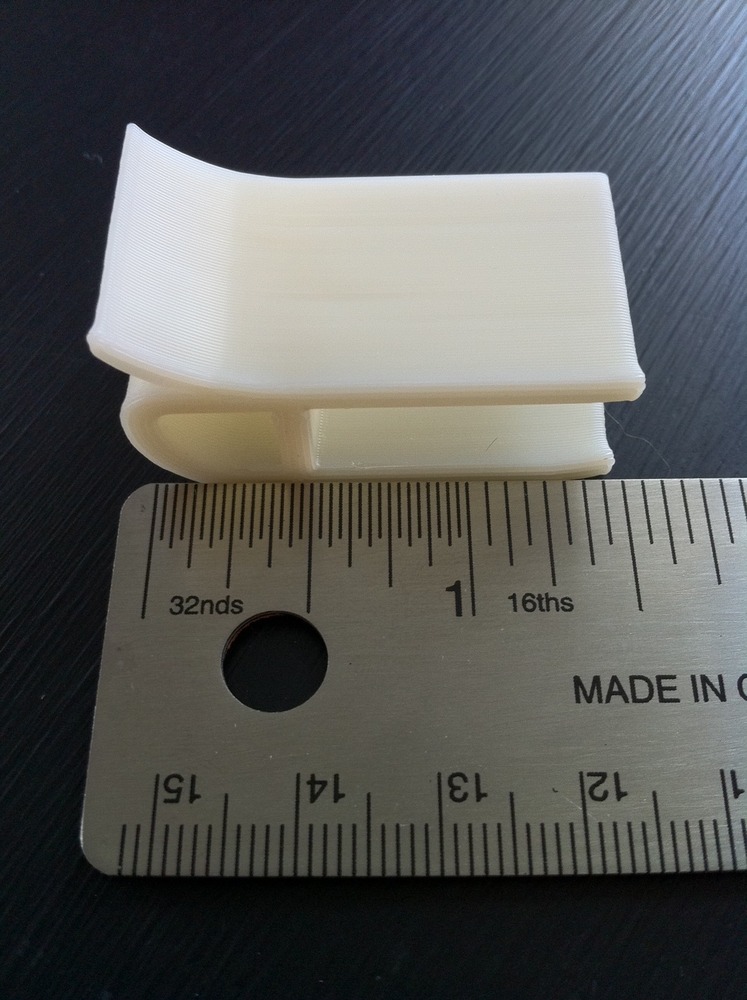
[ UPDATE ] Added photos with ruler (in inches) since I forgot them earlier. 🙂
As I’ve mentioned previously, our walk-in shower door is not hung correctly and has issues. One of these is that water will leak out from under the door because even though there is an adjustable plastic seal/blocker, it can’t adjust down far enough to actually hit the floor.We have to keep a bath mat outside the door to absorb the water that gets underneath; this works but isn’t really ideal.
First of all, this is a really poor design on the part of the company that makes the plastic part. The sides that go up around the glass door aren’t tall enough to adjust the thing more than 1/8-1/4 inch. I suppose that they figured that every single door that these were put on would be hung properly and that would suffice, but that was rather short-sighted IMO.
Naturally I realized that I could fix this problem by designing a better seal/blocker and print my own – one that had taller sides to provide better adjustability. Off to SketchUp!

Now, I made the piece roughly 100mm tall so I wouldn’t be close to hitting the limit at any point (120mm is the limit on the Thing-o-Matic). I also designed an end-cap so that I could “lock” the piece at the edge of the door in-place.
I ran these through ReplicatorG and did an estimate on how long it would take. The end-cap was 6 minutes. Rock! The large piece 1 hour 20 minutes! Gulp. Ok… What can I do to make this less intensive? I re-sliced the model with no extra shells, zero infill, and no raft or support. This should make it as simple as it could be and still be usable. I wasn’t worried about being water-tight as I don’t actually want it to hold water! This got me down to 1 hour and 14 minutes. After other attempts at reduction, this was the fastest I could get it.
Okay – that’s the way it’s going to be, let me just print one.
My first print was one of the end-caps and I had some calibration off so it curled up on me. My second print was perfect. And it did only take six minutes. Yes!
The next print was the larger piece. I got things going and yes it was going to take a while. However, it definitely seemed like it wasn’t going to take the full 1 hour 14 minutes — probably closer to just an hour.
About 30-percent of the way through, I decided to stop the print because I wanted to be sure that a) my measurements were correct, and b) the tall sides wouldn’t push out and not hold as it went on the door. Since the printer isn’t at home, this was it for the day.


Once home I went to the shower, took off the old plastic thing, and put mine on. Perfect fit and the sides held perfectly. The end-cap’s fit was a little loose, but worked as expected.
Then it hit me.
The door is almost 40″ wide. If I’m printing this in pieces that are roughly 3-1/2″ wide, that will take 10-11 pieces to go all the way across. At even an hour each, that’s a long time and a lot of plastic. This is the point that I had that moment of “really?!”.
While being able to design and print absolutely anything myself is a total shift in paradigm, there are still things that are easier to resolve in other ways; our bath mat’s job is secure.
I don’t think this is just a speed thing either. That is, even if I could print one of the large pieces in 15 minutes instead of an hour, because I’d still have 10-11 pieces to deal with, this seems a poor choice compared to going to a big-box hardware store and finding a single piece that would do the job. The cost of such an item would probably be closer to the cost of printing many pieces if you put time into the equation.
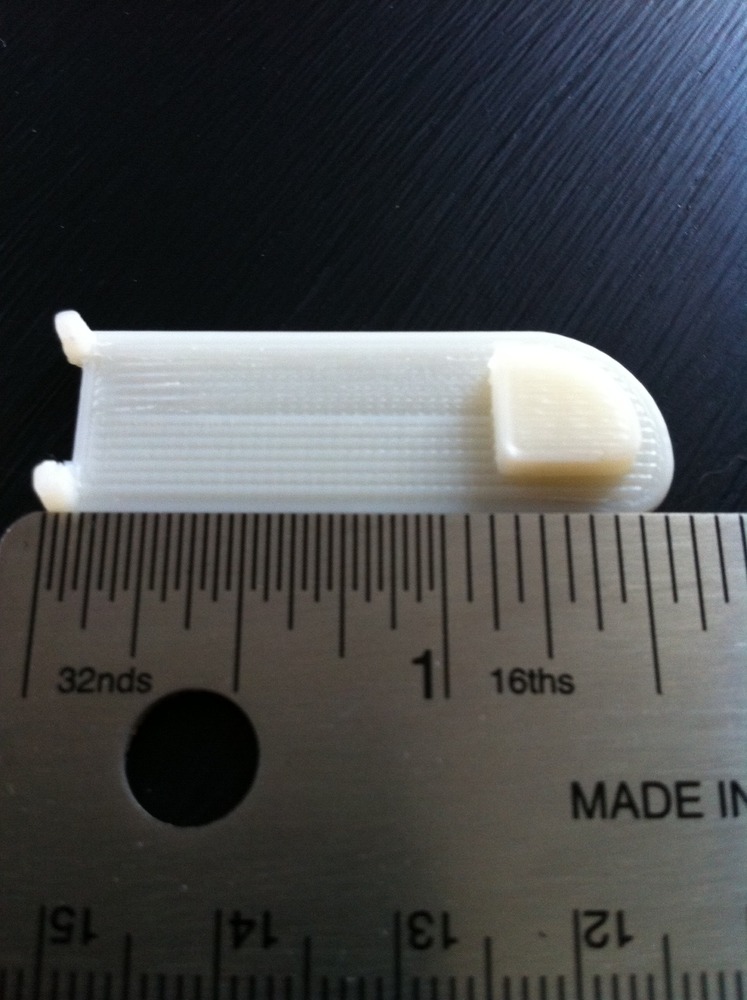
On a technical/printing note, I can’t express enough about how super-psyched I am by the quality of prints I am getting from my Thing-o-Matic, even with the slight warp on bottom levels (yes, I know, it’s a heat thing). The close-up of the inside edge shows how clean the print is, which is stunning for a “DIY” printer. I am curious to see how the new Mk7 extruder with it’s 1.75mm plastic handling will do. I will be upgrading – possibly even going dual-extruder – after I finish up all the 3mm plastic I have.
The keen observer will also notice that since there is no infill, the large piece printed hollow. This, I think, was both good and bad. The good being that this made it a little more flexible when placing on the glass door – it would still fit even if not 100% accurate. The bad part was that the interior loop on the bottom section (the hole that the plug from the end-cap would go into) was not supported after the first two layers and would curl up slightly at the sharp edges. I sat with a long utility knife and would press down the corners as it was printing. If I had to do this for a full hour 10-11 times, I’d go crazy. Another strike against this object. I think at least 10-percent infill would have held the sections together and not created the curling.

